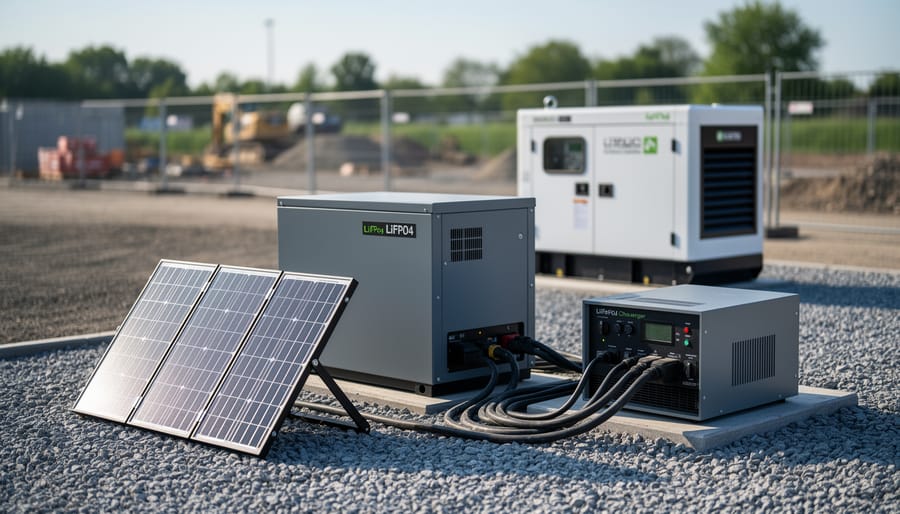
For most job site crews, the best hybrid battery solution is a lithium iron phosphate (LiFePO4) battery paired with a solar panel array and a small backup generator that only runs when the battery runs low. Set it up and you can power chargers, lights, and corded tools for most of a workday without a gas engine droning beside you. Expect a few hours for your first setup, and plan on basic wiring comfort and a clear idea of your daily power draw before you buy anything.
Here’s why it works. The sun does the everyday heavy lifting, the battery stores that energy so you’re not dependent on clear skies, and the generator steps in only on the gloomy, heavy-use days. You burn far less fuel, your crew can hold a conversation again, and your exhaust footprint drops with every hour the engine stays off. If you run a landscaping or lawn care operation, that quiet matters more than you’d think. Early-morning starts get easier on the neighbors, and battery-powered trimmers, blowers, and mowers can recharge right from the trailer.
This guide shows you how the system works, how the main battery types compare, what tools and materials you’ll need, where the safety stop points are, and how to verify everything’s working before you rely on it. No engineering degree required, just a little patience and a willingness to measure twice.
What a Hybrid Battery Actually Does on a Job Site
Why Pair Batteries With Solar and a Generator Instead of Choosing One
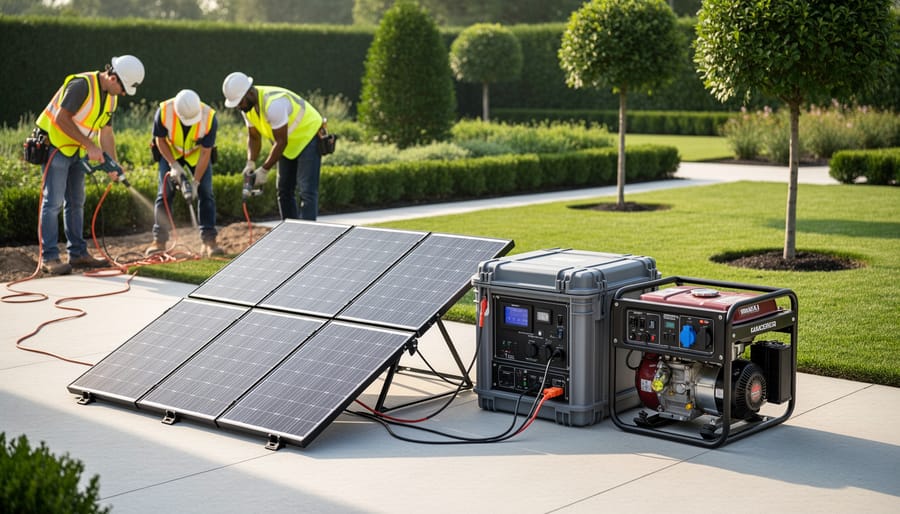
A generator on its own burns fuel whether your tools are drawing 200 watts or 2,000. Most of that fuel goes to idling through light loads, which is a lot of noise and exhaust for very little work. Solar on its own has the opposite problem: it can’t deliver power after the sun drops or when a cloud bank rolls in. Put a battery in the middle and each source covers the other’s weakness.
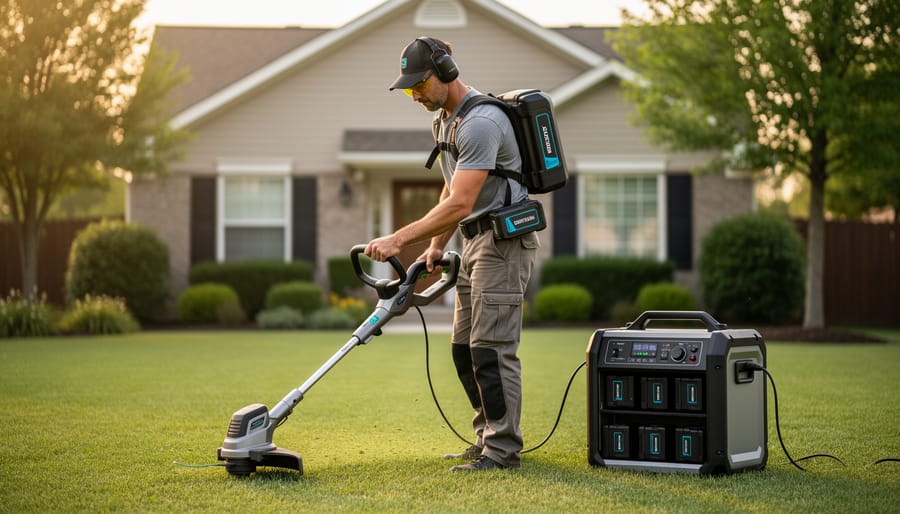
Picture a three-person landscaping crew trimming hedges and edging beds on a quiet residential street. With a battery handling the cordless tool chargers and a small light, they can start work early without waking the neighbors. The generator only kicks in for a short, efficient burst when the battery runs low, then shuts off again. Over a week, that means far fewer hours on the engine, which stretches out oil changes and service intervals.
The sustainability payoff is real: less fuel burned, fewer emissions, and a calmer job site. Still, be realistic. Heavy equipment, long overcast stretches, or a surprise high-demand day may still call for the generator, and that’s fine. Think of it as a backup, not the star of the show.
Comparing Hybrid Battery Types for Job Site Use
Choosing a battery type comes down to how hard your crew works it and how much you want to lug around. Here’s how the four main options stack up.
LiFePO4 lithium is the best all-rounder for daily job site use. It’s lighter than lead-acid for the same usable energy, tolerates deep discharges, and typically lasts thousands of charge cycles, so it holds up to the daily cycling a hybrid system demands. The trade-offs are a higher upfront cost and a weak spot in the cold: most LiFePO4 packs shouldn’t be charged below freezing unless they have built-in heaters or low-temperature protection. Check the spec sheet for that before you buy. At the end of its life, a lithium battery should go to a proper recycler, not the trash.
Lead-acid and AGM batteries are the budget-friendly, familiar choice. They cost less up front and handle cold and hot weather reasonably well, but they’re heavy, and you can only use roughly half their capacity regularly without shortening their life. Expect far fewer cycles than lithium, which often makes them more expensive over the long haul if you cycle them daily. On the plus side, lead-acid is one of the most widely recycled products around, and most dealers will take old batteries back.
Portable power station-style units bundle the battery, inverter, and charge controller into one carry-anywhere box. They’re ideal for small crews running cordless mowers, trimmers, and chargers, and setup is nearly plug-and-play. The downside is limited capacity and expandability, and you can’t swap out a single failed component. Think of them as a great starting point or a tool-charging station, not a whole-site power plant.
Rack or trailer-mounted systems are the heavy hitters, built for larger crews, big loads, or semi-permanent sites. They scale up easily and often use modular lithium or AGM banks with a separate hybrid inverter. They cost the most, weigh the most, and usually call for a licensed electrician to wire them correctly, but they deliver the longest runtime and the biggest fuel savings.
> Key takeaway: Pick lithium (LiFePO4) for daily cycling and light weight, lead-acid/AGM for a tight budget and cold climates, a portable station for small tool-charging needs, and a rack or trailer system for big, long-term loads.
Buying tips:
– Compare usable capacity, not just the label rating.
– Check the cycle-life rating and warranty length.
– Confirm the operating and charging temperature range for your climate.
– Ask the seller about take-back or recycling programs before you commit.
Tools and Materials You’ll Need Before You Start
Sizing Your Battery to Your Real Daily Power Load
Sizing a battery comes down to four steps. Grab a notepad and a watt meter if you have one.
Step 1: List every load. Write down each tool and device the crew runs in a day, with its wattage (check the nameplate or use the meter).
Step 2: Multiply by hours. Watts times hours gives watt-hours. Add them up for your daily total.
Step 3: Account for startup surge. Motors and compressors pull two to three times their running watts for a moment. This sets your inverter size, not your battery capacity.
Step 4: Add a buffer. Padding the total by 20 to 30 percent covers inverter losses, cloudy stretches, and the fact that you shouldn’t drain a battery to zero.
Here’s an example for a three-person landscaping crew. They run a battery charger station (300 W for 4 hours), a small air compressor (800 W running for 1 hour), work lights (150 W for 6 hours), and phone and radio charging (100 W for 4 hours).
– Charger station: 300 x 4 = 1,200 Wh
– Compressor: 800 x 1 = 800 Wh
– Lights: 150 x 6 = 900 Wh
– Phones and radios: 100 x 4 = 400 Wh
That’s 3,300 Wh, or 3.3 kWh. Add a 25 percent buffer and you land around 4.1 kWh, so a 4 to 5 kWh battery fits nicely. For the inverter, the compressor’s startup surge might hit 2,000 W, and other loads may overlap, so a 3,000 W inverter gives comfortable headroom.
One more practical note: if your crew moves batteries between sites or sends spares out for service, learn how to ship batteries safely so you stay compliant and protected.
Safety Warnings and Stop Conditions to Respect
Before you flip a single switch, take a few minutes to respect the hazards that come with storing and moving this much energy. Most problems on job sites trace back to rushed setups, so slow down here.
Start with the battery itself. Lithium packs can overheat if they’re damaged, overcharged, or stuffed into a hot, unventilated spot. Keep the battery shaded, give it breathing room, and never charge one that’s been dropped, dented, or swollen. Check the manufacturer’s instructions for the temperature range it tolerates, because cold and heat both shorten life and raise risk.
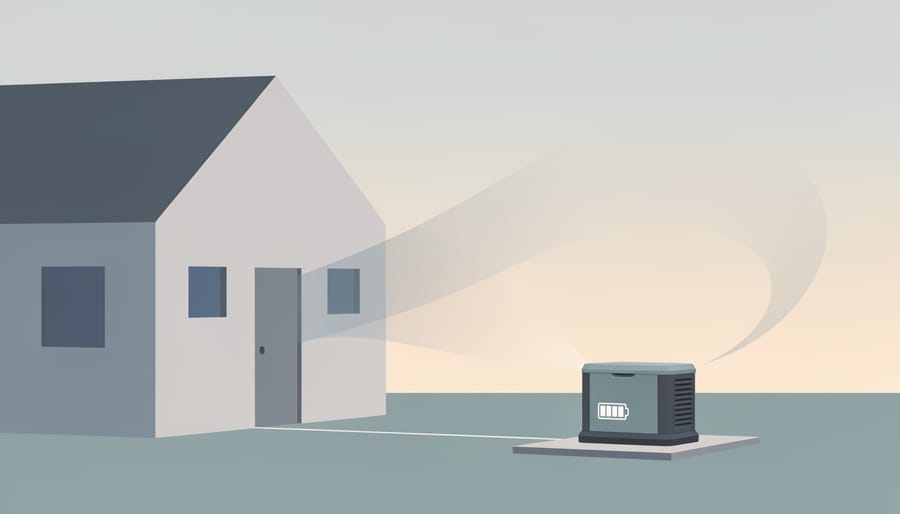
Generators bring their own danger. Carbon monoxide is invisible and can kill quickly, so run the generator outdoors, far from doors, windows, vents, trailers, and any enclosed space. A CO alarm in nearby living or work areas is cheap insurance. If you keep spare gas on site, proper fuel tank storage matters too, so keep cans away from the battery, inverter, and any hot exhaust.
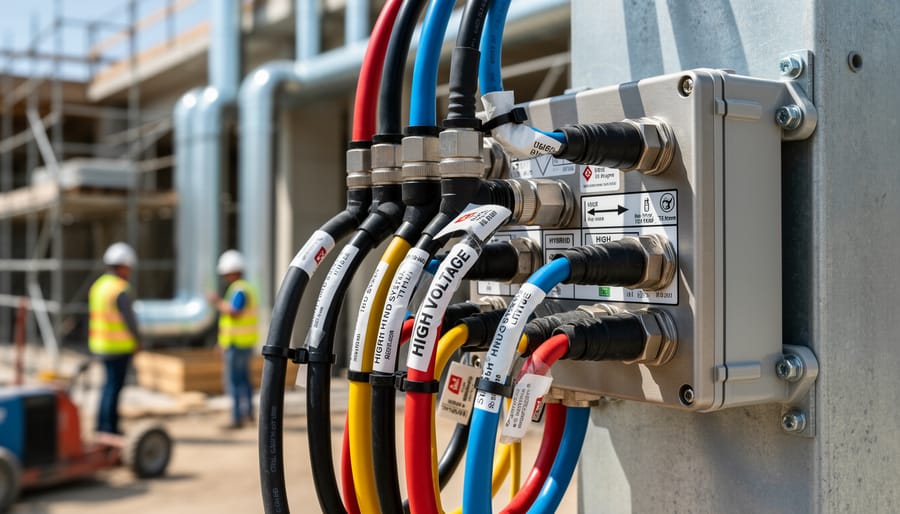
On the electrical side, ground the system as your inverter’s manual directs, and fuse every positive cable close to the battery with a rating matched to the wire. Never overload a circuit; add up your loads and stay within the inverter’s rating. Keep connections dry, avoid working in standing water or rain, and use outdoor-rated, weatherproof gear.
Batteries are heavy, so lift with your legs, get a second person, or use a cart. A dropped pack is a damaged pack.
Finally, know your limits. If anything involves the main panel, permanent wiring, or a connection you don’t fully understand, bring in a licensed electrician. Local rules vary, so check your area’s requirements to stay compliant and follow each manufacturer’s instructions to the letter.
Step-by-Step: Setting Up Your Hybrid Solar-Generator-Battery System
Setting this up is more approachable than it looks. Take it one step at a time, and keep the battery, inverter, and generator within easy reach of each other so your cable runs stay short.
- Pick and level the spot. Choose firm, dry, open ground with good sun and room for the generator at a safe distance. If you’ll be driving stakes or digging for panel mounts, call 811 first, and check the VA 811 rules if you’re working in Virginia.
- Aim the panels. Face them toward the sun’s path (south in most of the US), tilt them for the season, and keep shadows from trucks, trees, and fences off the array.
- Secure the battery. Set it on a flat, stable surface or in its rack, strap it down so it can’t slide in transit, and give it breathing room for airflow.
- Install protection first. Put the main fuse or breaker on the battery positive cable before anything else, with all breakers switched off.
- Connect the inverter/charger. Use the correct cable gauge, keep runs short, and tighten each terminal to the manufacturer’s torque spec. Battery connections come before AC wiring.
- Wire the solar input. Run the panel leads to the charge controller (or the inverter’s solar input), confirm polarity with your multimeter, and only then close the solar breaker.
- Add the generator as backup. Connect it to the inverter/charger’s AC input, using a transfer or auto-start arrangement the equipment supports. Keep the generator outdoors, well away from enclosed spaces.
- Program the thresholds. Set the battery chemistry and charge voltages to match your battery’s specs. Then set the generator to start at a low state of charge and stop once the battery reaches a healthy level, so it runs in short bursts and not all day.
- Connect your loads last. Plug in tools and equipment one at a time, starting with the smallest, so you can catch any overload before it trips something.
Don’t worry if the first attempt takes a while. Most crews get faster by the second or third setup. If a step doesn’t match what your manual says, trust the manual over any general guide, and bring in a licensed electrician for anything involving permanent AC wiring or a main panel.
One practical tip: snap a quick photo of your finished wiring and thresholds before you close everything up. It makes troubleshooting and repeat setups much easier, and it gives you a baseline to compare against once you start tracking fuel savings.
Verifying It Works and Tuning for Long-Term Performance
Common Questions About Job Site Hybrid Battery Systems
Here are the questions beginners ask most often. The honest answer to nearly all of them is “it depends on your load,” which is why sizing comes first.
How long will a battery run my everyday tools?
Divide the battery’s usable kWh by your tools’ combined wattage. A small cordless-tool charging setup can run all day, while a miter saw or compressor drains the same battery much faster.
Does it still work on cloudy days and in winter?
Yes, but solar output drops, sometimes sharply, so the generator picks up the slack. Cold also reduces battery performance and many lithium batteries won’t charge below freezing, so check your manufacturer’s temperature limits and keep the battery sheltered.
Can it power heavy equipment?
Only if the inverter can handle the startup surge, which is often two to three times the running watts. Big motors, welders, and wood chippers usually need a larger inverter or a direct generator feed.
How does this compare to renting a bigger generator?
A hybrid system costs more upfront, but it burns far less fuel and runs quietly for most of the day. Renting suits occasional heavy jobs, while a battery setup pays off when you work on site week after week.
Most small crews find that a right-sized battery handles the steady, everyday work, and a generator covers the occasional big pull. If you’re unsure where your own load lands, test with a plug-in watt meter before you buy. A little measuring now saves you from paying for capacity you’ll never use, or from running short mid-job.
Choosing a hybrid battery system doesn’t have to feel overwhelming. The core idea is simple: size your battery to your real daily load, let the solar panels do the heavy lifting, and keep the generator as a backup that only fires up when the battery needs a boost. Get that balance right, and you’ll burn less fuel, work in a lot more peace and quiet, and skip a good chunk of the maintenance that comes with running a generator all day.
There’s a bigger payoff too. Every hour your crew works on stored sunshine is an hour of fewer emissions and less noise for you, your neighbors, and the property you’re caring for. That fits right in with the kind of sustainable lawn care and landscaping we love to talk about here.
If you’re just getting started, start small. Cover one tool or one workday first, then add panels or capacity as you learn what you actually use. And once you’re up and running, share your setup and what you’ve learned. Your experience might be exactly what another crew needs.