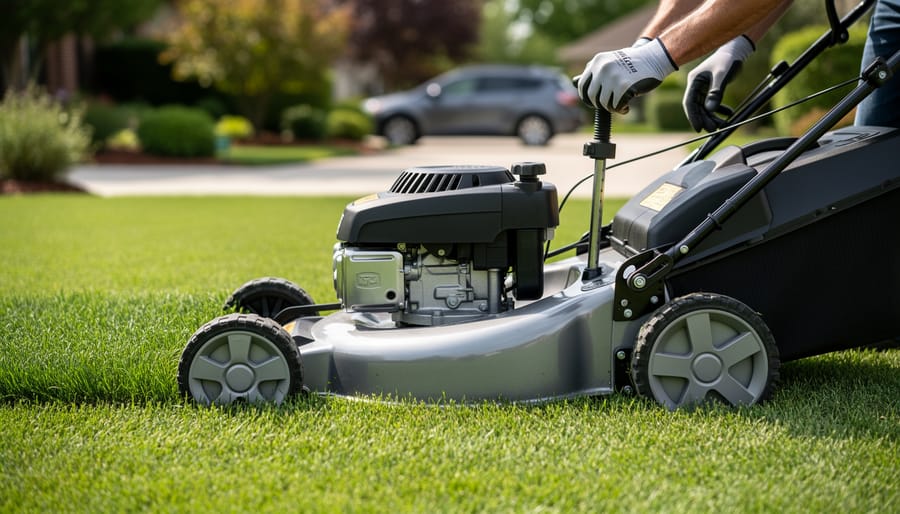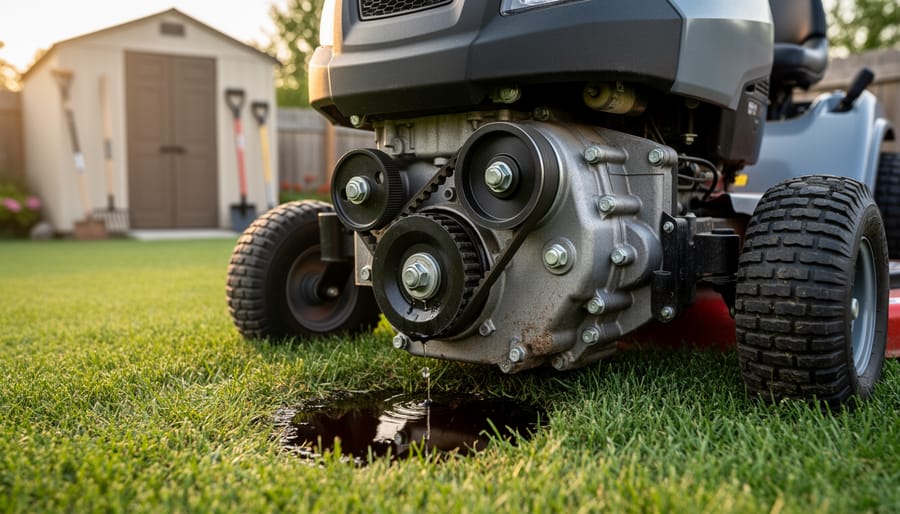
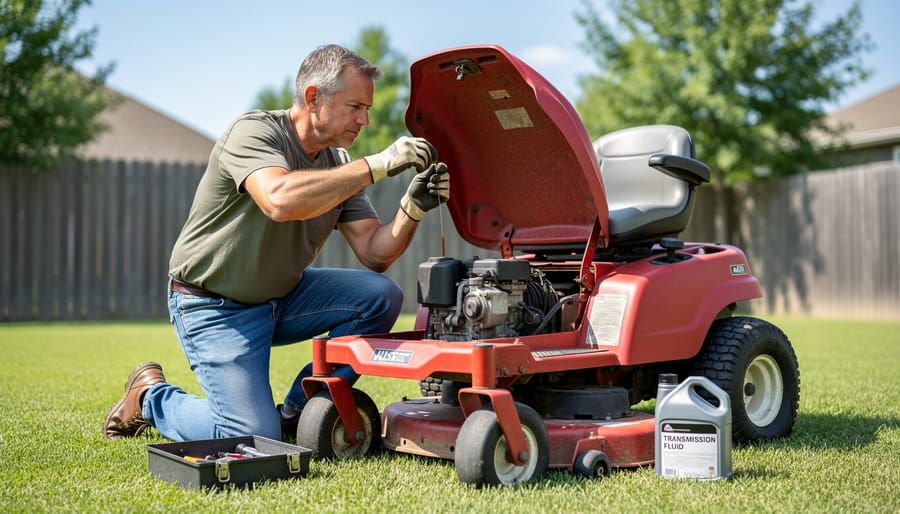
Listen for grinding noises when you shift gears or notice the mower won’t move despite the engine running – these are your transmission crying out for help. Check your transmission fluid level first, as low fluid causes 60% of riding mower transmission failures and takes just five minutes to inspect. Look underneath for dark puddles or wet spots around the transmission housing, which signal leaks that will strand your mower mid-lawn if ignored.
Your riding mower’s transmission is the hardworking link between engine power and wheel movement, and when it fails, your entire lawn care routine grinds to a halt. Whether you’re dealing with a hydrostatic transmission that’s lost its smooth operation or a manual gearbox that won’t shift properly, the good news is that many transmission problems stem from surprisingly simple causes. Dirty fluid, worn drive belts, and minor leaks account for most issues homeowners face, and you can often address them without expensive professional service.
This guide walks you through the most common transmission problems in plain language, helping you identify what’s actually wrong with your mower. You’ll learn which fixes are genuinely DIY-friendly for a typical gardener and which situations require calling in expert help. Understanding your transmission not only saves you money but also extends your mower’s lifespan, reducing waste and supporting more sustainable lawn care practices. Most importantly, you’ll get back to mowing within days rather than weeks.
Understanding Your Riding Mower’s Transmission
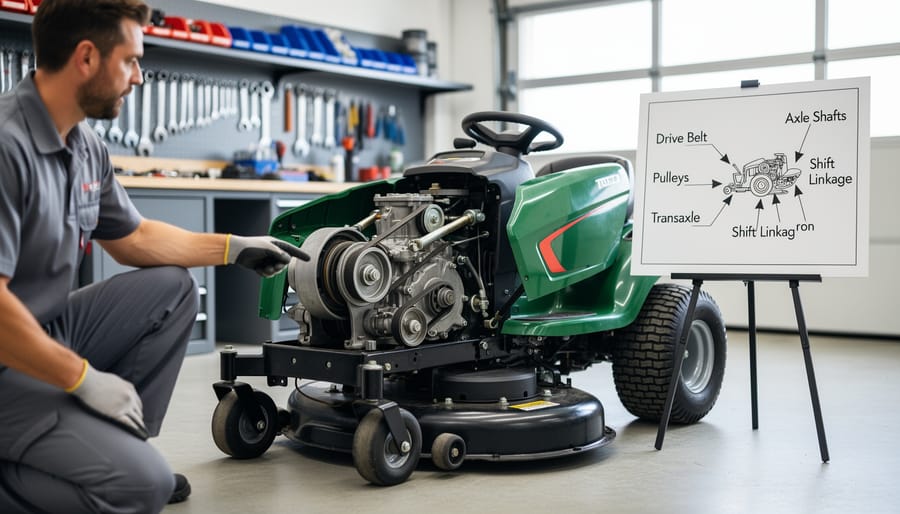
The Two Main Types You’ll Encounter
Understanding your transmission type is the first step in diagnosing problems effectively. Most riding mowers use one of two transmission systems, and each has its own quirks and common issues.
Hydrostatic transmissions are by far the most popular in modern riding mowers, and for good reason. They operate using hydraulic fluid pressure to transfer power from the engine to the wheels, giving you smooth, pedal-controlled speed changes without shifting gears. Think of it like an automatic transmission in your car. When working properly, they’re incredibly user-friendly and require minimal effort to operate. However, hydrostatic systems are prone to specific problems like fluid leaks, air in the hydraulic lines, worn drive belts, and occasional pump failures. You’ll typically notice issues as jerky movement, loss of power on hills, or that frustrating situation where your mower simply won’t move forward or backward despite the engine running fine.
Manual transmissions, sometimes called gear-drive transmissions, work more like a traditional stick-shift car. You manually select gears to change speed, which gives you excellent control and durability. These systems are generally simpler and easier to repair yourself, making them attractive from a sustainability standpoint since parts last longer and repairs are more straightforward. Common problems with manual transmissions include difficulty shifting gears, grinding noises when changing speeds, and clutch-related issues. The good news? Manual transmission problems are often more predictable and DIY-friendly to fix, though they’re becoming less common in newer mower models.
The Tell-Tale Signs Your Transmission Is Struggling
When Your Mower Won’t Move at All
When your riding mower completely won’t move forward or reverse, it’s understandably frustrating, especially when you’ve got a lawn waiting to be mowed. Before you worry about expensive repairs, let’s walk through some immediate checks that might save you time and money.
First, ensure your mower is on level ground and the parking brake is disengaged. It sounds simple, but it’s surprisingly common. Next, check if your transmission bypass lever is engaged. This small lever, usually located near the rear axle, allows you to push the mower manually but disables the drive system. If it’s accidentally been moved, simply return it to the operating position.
Also verify your drive belt hasn’t snapped or slipped off its pulleys. With the engine off, carefully inspect underneath the mower deck. A broken belt is an easy fix that prevents movement entirely. Finally, check your fluid levels if you have a hydrostatic transmission. Low fluid can cause complete drive failure but is often easily remedied with a simple top-up, keeping your mower running sustainably for years to come.
Sluggish Response and Loss of Power
If your riding mower feels like it’s running out of steam, you’re likely dealing with a transmission issue that’s gradually worsening. This frustrating problem often starts subtly – maybe you notice your mower doesn’t climb hills as confidently as it used to, or it hesitates when you ask it to speed up. Over time, that once-powerful machine might struggle to pull its own weight across flat terrain.
The most common culprit behind sluggish performance is low or deteriorated transmission fluid. Just like your body needs proper hydration to function, your mower’s transmission relies on clean, adequate fluid to transfer power smoothly. Check your fluid level first, and if it looks dark or smells burnt, it’s time for a change. This is one of those practical maintenance tasks that can dramatically improve performance while extending your mower’s lifespan – a win for both your wallet and sustainable equipment care.
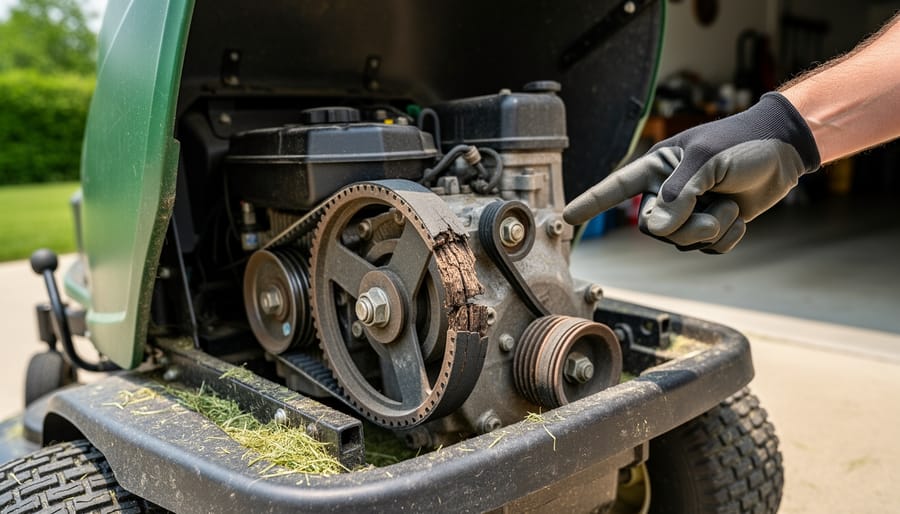
Worn drive belts are another frequent offender. These hardworking components stretch and crack over time, leading to slippage and power loss. Inspect your belts for glazing, fraying, or excessive wear. Replacing a worn belt is surprisingly straightforward and can restore your mower’s pep quickly, getting you back to maintaining that beautiful lawn you’ve worked so hard to cultivate.
Strange Noises That Signal Trouble
Your mower is trying to tell you something, and listening carefully can save you time and money. A grinding noise, especially when shifting gears or moving from neutral, usually points to worn gears or low transmission fluid – think of it as metal scraping against metal without proper lubrication. That high-pitched whining sound you’re hearing? It often indicates low fluid levels or a failing hydraulic pump struggling to maintain pressure. Clunking or banging noises, particularly when you engage the drive or change direction, typically signal loose internal components, damaged drive belts, or worn axle connections. Don’t ignore these warning sounds – they’re your mower’s way of asking for help before a minor issue becomes a costly repair that keeps you off the lawn longer.
Five Common Transmission Problems (And Their Fixes)
Low or Contaminated Transmission Fluid
Here’s some good news: if low or contaminated transmission fluid is causing your mower’s sluggish behavior, you’ve just found the easiest and most affordable fix on your troubleshooting journey. Think of transmission fluid as the lifeblood of your mower’s drive system, and checking it should be your very first step.
Start by locating your transmission’s dipstick or reservoir, which your owner’s manual will pinpoint precisely. Park on level ground and let the engine cool completely before checking. When you pull the dipstick, wipe it clean, reinsert it fully, then check the level. The fluid should fall within the marked range and appear clear or slightly amber. If it’s dark brown, black, or has a burnt smell, contamination is your culprit.
Contaminated fluid often contains metal particles, dirt, or moisture that have accumulated over time. This gunk acts like sandpaper on your transmission’s internal components, making smooth operation impossible. To check for debris, place a few drops on a white paper towel and look for specks or cloudiness.
Your mower requires specific transmission fluid, typically hydrostatic transmission fluid or 20W-50 motor oil, depending on your model. Never guess or substitute with whatever’s in your garage. Check your manual or call your dealer to confirm the exact type. Using the wrong fluid can actually create new problems.
Refilling is straightforward: add fluid gradually through the designated fill port, checking levels frequently to avoid overfilling. This simple maintenance task, done annually or per manufacturer recommendations, prevents most transmission headaches while supporting sustainable equipment care through proper upkeep.
Worn or Slipping Drive Belt
Your riding mower’s drive belt is like the unsung hero working behind the scenes, and when it starts wearing out, you’ll notice transmission problems pretty quickly. Let’s get you back on track with a simple inspection routine.
Start by disconnecting the spark plug for safety, then look underneath your mower deck. A healthy belt should be smooth, flexible, and consistent in width. Watch for common belt wear symptoms like cracking, fraying edges, glazing (that shiny, slick appearance), or noticeable thinning. If your mower hesitates when you engage the transmission or makes squealing noises, you’re likely dealing with a slipping belt.
Check for proper belt tension by pressing down on it between pulleys. It should give about half an inch with moderate pressure. Too loose, and it’ll slip; too tight, and it’ll wear prematurely. Most riding mowers have adjustable tension mechanisms, usually involving repositioning an idler pulley or adjusting a spring-loaded tensioner.
When replacement time comes, take your old belt to the store for exact matching. Installation is straightforward but take photos before removing the old belt so you remember the routing path.
Here’s an important sustainability note: don’t toss that old belt in regular trash. Many auto parts stores and recycling centers accept rubber belts for proper recycling, keeping them out of landfills where they’d sit for decades.
Damaged or Broken Shift Linkage
The good news? Shift linkage problems are often one of the easier fixes you can tackle yourself, and they’re surprisingly common. Think of the linkage as the messenger between your shift lever and the transmission—when that messenger gets damaged or misaligned, your mower won’t respond properly.
Start with a visual inspection under your mower. Look for bent rods, loose connections, or worn bushings where the linkage connects to the transmission. Pay special attention to the pivot points and ball joints—these are the most common failure spots. You might notice the shift lever feels loose or floppy, or perhaps it won’t stay in gear. Sometimes you’ll see the linkage has simply popped off its connection point.
To adjust the linkage, consult your owner’s manual for the specific adjustment procedure. Generally, you’ll loosen a bolt, move the shift lever to neutral, align the transmission to neutral position, and retighten. This realignment often solves shifting issues without any parts needed.
If components are broken, replacement parts are usually affordable and widely available. Before ordering, take clear photos of your setup to ensure you get the correct parts. When reassembling, apply a bit of grease to pivot points—this sustainable maintenance practice extends the life of new parts and keeps everything moving smoothly for seasons to come.
Air Trapped in Hydrostatic Transmission
Air trapped in your hydrostatic transmission is one of those sneaky problems that can make you think something’s seriously wrong when the fix is actually pretty straightforward. Think of it like an air bubble in a water line – it just doesn’t belong there and interrupts the smooth flow your transmission needs.
Air typically enters the system when you’ve replaced hydraulic fluid, performed maintenance, or if you’ve let the fluid level get too low. Once inside, those air pockets prevent the hydraulic fluid from building proper pressure, which means your mower might move sluggishly, jerk forward awkwardly, or refuse to move at all, especially on inclines.
The good news? Purging air from your transmission is a manageable DIY task. Here’s how to do it:
Start by parking on level ground and engaging the parking brake. With the engine off, move the motion control levers back and forth about ten times to work air toward the system’s exit points. Next, start your engine and let it idle. Disengage the transmission by pulling the bypass valve (usually located near the rear wheels). Slowly move the motion control levers forward and backward for several minutes while the engine runs.
Re-engage the transmission and test drive your mower slowly, gradually increasing speed. You might need to repeat this process a couple of times. Most manufacturers recommend running through this purging procedure whenever you’ve done transmission work – it’s simple preventive care that keeps your mower running smoothly.
Internal Transmission Wear or Failure
Sometimes, despite your best maintenance efforts, transmission components simply reach the end of their lifespan. Recognizing internal failure saves you time and frustration trying DIY fixes that won’t work.
Signs of serious internal damage include metal shavings in the transmission fluid, grinding noises that persist regardless of fluid levels, complete loss of movement in all gears, or fluid that smells severely burnt even after fresh changes. If your mower suddenly won’t move at all despite proper fluid levels and belt tension, internal gears may have stripped or bearings failed.
Here’s the honest truth about repairs: replacing internal transmission components often costs nearly as much as a new transmission unit. Labor-intensive repairs on hydrostatic transmissions typically run $400-800, while replacement transmissions range from $600-1,200 depending on your model. For mowers over 10 years old, these repairs may exceed the machine’s value.
Consider calling a professional when you’ve eliminated simple fixes like fluid changes and belt adjustments but problems persist. A qualified small engine mechanic can perform compression tests and diagnostic checks you can’t do at home.
From a sustainability perspective, if your mower has been reliable and the engine runs strong, investing in transmission repair keeps equipment out of landfills. However, continuously pouring money into an aging machine isn’t practical or environmentally sound either. Weigh repair costs against your mower’s overall condition and remaining usefulness before deciding.
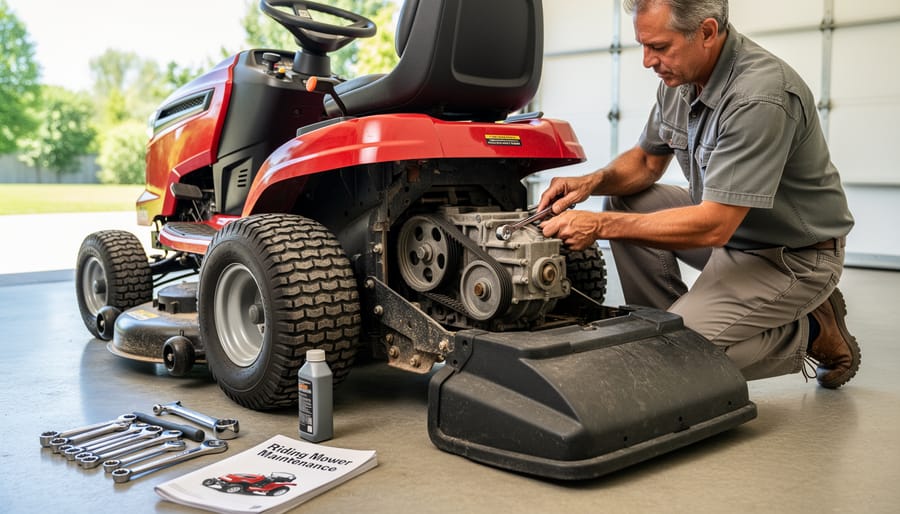
Your Step-by-Step Troubleshooting Checklist
When your mower acts up, it’s tempting to dive straight into the most complicated possibilities. But here’s what I’ve learned from years of maintaining equipment: starting simple saves time, money, and a whole lot of frustration. Let’s walk through this together, step by step.
First, park your mower on level ground and engage the parking brake. Safety always comes first. Now, check your transmission fluid level. I know it sounds almost too simple, but low fluid causes about half the transmission complaints I hear from fellow gardeners. Top it off if needed with the manufacturer-recommended fluid.
Next, inspect the drive belt while the engine is off. Look for cracks, fraying, or glazing on the surface. A worn belt often slips under load, mimicking transmission failure. If it looks questionable, replacement is inexpensive and straightforward.
Now test the linkage connections. Wiggle the shift lever and watch how the cables or rods respond. Loose or disconnected linkage creates the illusion of transmission problems when really it’s just a communication breakdown between you and the mower.
Try engaging the transmission in different gears. Does one direction work better than the other? This tells you whether you’re dealing with a complete failure or a partial issue, which helps narrow down the cause.
Check your tire pressure next. Uneven pressure makes the mower pull to one side, often mistaken for transmission trouble. Keep tires inflated to manufacturer specifications.
Finally, listen carefully while someone else operates the mower. Grinding suggests internal damage, while whining might indicate fluid issues or bearing wear.
If you’ve worked through these steps and still have problems, you’ve gathered valuable information for a repair professional. Nothing about this process is wasted effort. You’re being a responsible steward of your equipment and potentially saving yourself an unnecessary service call.
Preventing Transmission Problems Before They Start
The best transmission repair is the one you never have to make! Just like tending a garden, a little preventive care for your riding mower goes a long way toward avoiding costly breakdowns and keeping your equipment running smoothly for years to come.
Start with fluid maintenance as your foundation. Check your transmission fluid level monthly during mowing season, looking for that clean, reddish color that indicates healthy fluid. Change it according to your manufacturer’s recommendations, typically every 100-200 hours of operation or annually. Think of it as feeding your soil—you wouldn’t skip that, so don’t skip this either. Using the correct fluid type matters tremendously; consult your manual and stick with what’s specified.
Your operating techniques make a real difference too. Avoid jackrabbit starts and sudden stops that stress transmission components. When climbing hills, maintain steady speed rather than rapid acceleration. On slopes, mow across rather than up and down when safe to do so, reducing strain on the transmission. These gentle practices extend component life while using less fuel—a win for your wallet and the environment.
Storage considerations deserve attention, especially during off-seasons. Park on level ground to prevent fluid from pooling unevenly. For winter storage, run the mower briefly every few weeks if possible, or at minimum, check fluid levels before spring startup. Store in a dry location to prevent moisture-related corrosion.
Seasonal care matters immensely. Before each mowing season, inspect belts for wear, check connections, and ensure proper tire inflation. Following regular maintenance practices prevents small issues from becoming transmission-destroying problems. Keep your mower deck clean too—excess debris creates drag that unnecessarily stresses the transmission system.
Here’s the good news: most riding mower transmission problems are entirely solvable, and many won’t even require a professional. By catching issues early and addressing them promptly, you’re not just saving money—you’re extending the life of your equipment and keeping perfectly good machinery out of landfills. Regular maintenance really is your best friend here. Simple habits like checking fluid levels monthly, keeping vents clear, and changing transmission oil according to your manual can prevent 90% of the headaches we’ve discussed. Remember, there’s no shame in calling a professional when you hit your comfort limit. Knowing when to ask for help is part of being a responsible equipment owner. Your mower is an investment in your lawn care journey, and treating it with care means years of reliable service ahead. Keep learning, stay patient with yourself, and your transmission will likely reward you with smooth, trouble-free operation season after season.