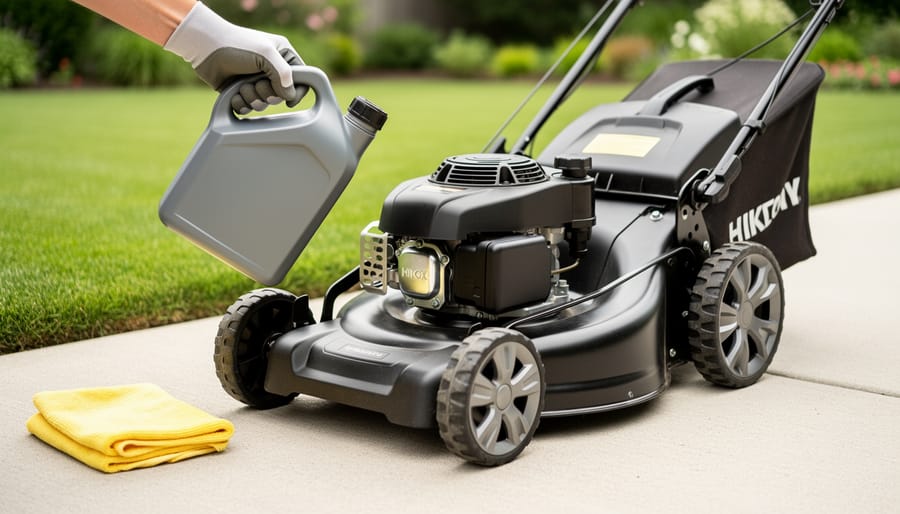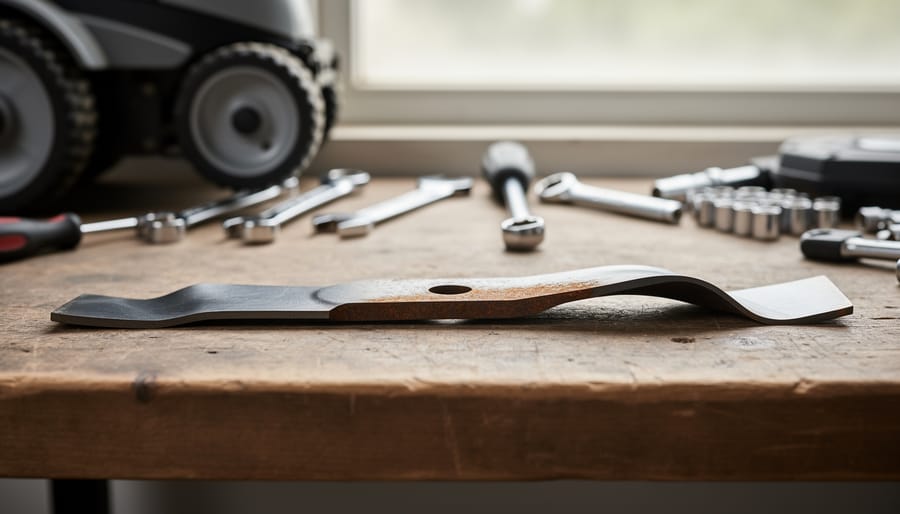
You’ve just hit something solid mid-mow, heard that sickening metallic clang, and now your lawn mower sounds like it’s trying to shake itself apart. The most common culprit? A bent blade throwing the cutting deck completely out of balance.
Before you panic, here’s the diagnostic check that takes 30 seconds: disconnect the spark plug, tip the mower on its side, and look at the blade straight-on from the discharge chute. If one end droops noticeably lower than the other or you can see an obvious curve in the metal, you’ve confirmed the problem. A slightly bent blade can sometimes be straightened with a bench vise and careful hammering, but blades with severe bends, cracks, or multiple impact points need immediate replacement for your safety.
This isn’t just about getting your mower running quietly again. An unbalanced blade vibrates violently enough to damage the engine shaft, crack the deck housing, and turn every mowing session into a potential hazard. The good news? Whether you’re dealing with a minor bend you can fix yourself or need to swap in a new blade entirely, both solutions are straightforward enough for most homeowners to tackle in under an hour.
The path forward depends on three things: how badly the blade is bent, whether the metal shows stress cracks near the bend, and if the central mounting hole has become oblong from the impact. We’ll walk through exactly how to assess the damage, the complete step-by-step repair process including the proper straightening technique, when replacement is your only safe option, and the prevention strategies that’ll keep you from facing this problem again. Let’s get your mower back to cutting cleanly instead of rattling your fillings loose.
Is Your Blade Actually Bent? Quick Diagnostic Check
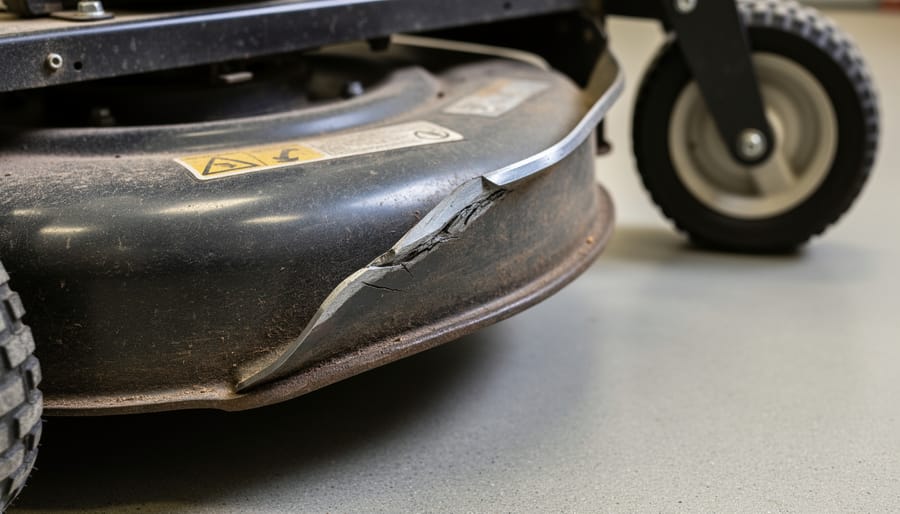
Before you start tearing apart your mower, take a moment to confirm what you’re actually dealing with. Not every poor cut or odd noise points to a bent blade, and jumping to conclusions can waste time and effort on the wrong fix.
Performance Red Flags
Your lawn will tell you something’s wrong before you even look at the blade. Watch for uneven cutting patterns where some grass stands taller than others despite multiple passes. If your mower vibrates excessively or shakes more than usual, that’s a strong signal. Strange clunking or scraping noises during operation also suggest the blade isn’t spinning true.
Visual Inspection Technique
Tilt your mower on its side (air filter facing up to prevent oil leaks) and examine the blade closely. A bent blade will show visible curves or kinks along its length, often most noticeable at the tips. Rotate the blade slowly by hand and watch its path, it should maintain consistent clearance from the deck. If one side dips closer to the deck than the other, you’ve found your bend.
Run your finger along each cutting edge. A bent blade often shows uneven wear patterns or damage concentrated on one side. Sometimes what looks like a bend is actually incorrect blade orientation so verify the cutting edges face down toward the grass and the sail (angled portion) faces up toward the deck.
Ruling Out Other Issues
Check that the blade bolt remains tight, a loose blade mimics bending symptoms perfectly. Inspect the blade adapter and spindle for damage, since a bent spindle creates similar problems. If everything else checks out but the blade clearly isn’t straight, you’ve confirmed the diagnosis and can move forward with repairs.

What Causes Lawn Mower Blades to Bend?
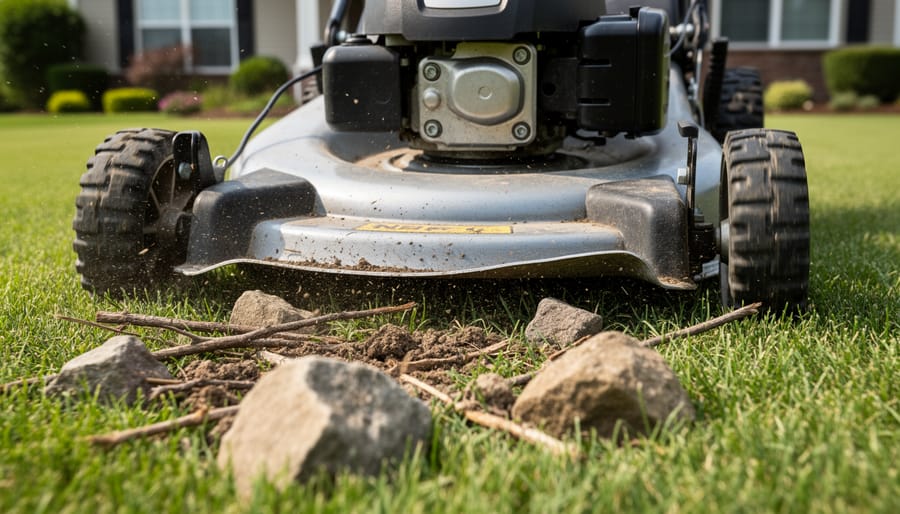
Understanding why mower blades bend helps you avoid the problem and guides your repair decisions. The rotating blade sits just inches above the ground, spinning at thousands of RPM, which means even small obstacles can deliver tremendous force when they collide.
Striking hard objects is the number one culprit. When your blade hits a rock, exposed tree root, concrete edging, or buried debris, physics works against you. The blade’s high rotational speed means the tip is moving fast, often over 200 miles per hour on some mowers, so impact forces multiply instantly. Metal bends rather than breaks when the object is smaller than the blade’s width and the force gets distributed along the blade’s length. A direct hit on a large rock might crack or chip the blade instead, but glancing strikes and medium-sized obstacles typically cause bending. Curbs and sidewalk edges are particularly notorious because homeowners often misjudge the overhang distance while edging.
Here are the most common objects that bend mower blades:
- Rocks and stones hidden in grass or mulch beds
- Exposed tree roots in uneven terrain
- Concrete curbs, sidewalk edges, and driveway aprons
- Metal stakes, sprinkler heads, and landscape edging
- Buried toys, tools, or construction debris
- Tree stumps cut flush with ground level
Blade fatigue from extended use weakens the metal over time. Each mowing session subjects the blade to vibration, heat, and stress. After hundreds of hours, microscopic stress fractures develop, and the metal loses its original temper. A fatigued blade bends more easily from impacts that a newer blade would shrug off. This explains why older blades sometimes bend from seemingly minor strikes.
Improper installation creates uneven stress patterns. If you over-tighten the center bolt, install the blade upside-down, or use a worn spindle, the blade won’t sit flat and balanced. Uneven mounting means certain sections absorb more impact force, making those areas prone to bending. Loose blades also shift during operation, striking the deck or wobbling into obstacles they’d normally clear.
Mowing on severely uneven terrain multiplies your risk. Dips, ruts, and slopes put the blade closer to hidden obstacles, and the mower’s uneven stance changes the blade’s angle relative to the ground. What looks like clear grass on a slope might hide a rock just waiting to connect with your blade’s leading edge.
How to Fix a Bent Lawn Mower Blade: Complete Repair Guide
Assessing the Damage: Can It Be Straightened?
Before you grab your tools, take a few minutes to honestly evaluate the damage. Not every bent blade can, or should, be straightened. The key question is whether the metal has been compromised beyond safe repair.
Minor bends are repairable. If the blade has a gentle curve or slight warp (typically less than a quarter-inch deviation when laid flat), and the metal shows no cracks or stress marks, you can likely straighten it. Run your fingers along both edges, smooth, intact metal is a good sign. Check that the bend is uniform rather than kinked at a sharp angle.
Severe bends require replacement. If the blade is bent more than half an inch, twisted into an S-shape, or creased at a sharp angle, the metal’s structural integrity is compromised. These conditions create weak points that can fail catastrophically during operation. Similarly, any visible cracks, even hairline ones, mean immediate replacement, no exceptions.
Watch for metal fatigue. Hold the blade up to good light and look for discoloration, rust pitting, or a whitish stress line along the bend. These indicate the metal has been work-hardened and may be brittle. A blade that’s been bent and straightened before is also at higher risk of failure. Thinning at the edges from repeated sharpening reduces the safety margin further.
When in doubt, replace it. A new blade costs far less than emergency room visits or engine damage from a blade that breaks apart at 3,000 RPM.
Tools and Materials You’ll Need
Before you begin the repair, gather everything you need to work safely and effectively. Having the right tools on hand will make the process smoother and help you avoid mid-project trips to the hardware store.
- Socket wrench set (typically 1/2″ or 9/16″ for most mower blade bolts, check your mower diagram if unsure)
- Vise or sturdy anvil to secure the blade while straightening
- Rubber mallet or standard hammer for applying controlled force
- Blade balancer to verify even weight distribution after straightening
- Work gloves and safety glasses to protect against metal edges and debris
- Wood block to prevent the blade from spinning during removal
- Replacement blade bolt (optional but recommended if the original shows wear)
- File or grinder for touch-up sharpening after straightening
Keep a clean rag handy to wipe away grass buildup and dirt, which makes it easier to assess the blade’s condition and work accurately. A torque wrench is ideal for reinstallation to ensure proper tightening, though a standard socket wrench works if you’re careful not to over-tighten.
Step-by-Step Blade Straightening Process
Now that you’ve gathered your tools and confirmed your blade can be straightened, it’s time to walk through the actual repair process. Work methodically through each step, rushing increases the risk of over-correction or injury.
- Disconnect the spark plug wire and tip the mower on its side (air filter side up to prevent oil leakage). Use your socket wrench to remove the blade bolt, turning counterclockwise. If the bolt is stubborn, spray it with penetrating oil and wait five minutes before trying again.
- Secure the blade in a bench vise with the bent area accessible. Position it so the high side of the bend faces upward. Don’t overtighten the vise, you want the blade held firmly but not crushed, which could create new stress points in the metal.
- Apply controlled force using a hammer or rubber mallet. Strike the raised portion with moderate blows, checking progress after every two or three hits. Work in small increments rather than attempting to straighten the blade in one or two heavy strikes. The metal should gradually conform without cracking or showing stress marks.
- Check straightness by placing the blade on a flat surface and looking for gaps underneath. Spin it on a blade balancer to verify it’s not only straight but also balanced, one side shouldn’t consistently drop lower than the other. Minor adjustments at this stage prevent vibration problems later.
- Re-sharpen the cutting edge if the straightening process dulled it or if you notice nicks from the initial impact. Use a file or grinder at the blade’s original angle (typically 30 to 45 degrees), removing equal amounts of metal from both ends to maintain balance.
- Recheck balance after sharpening. Hang the blade on a nail through the center hole or use a proper blade balancer. If one end dips, remove a bit more metal from the heavy side until the blade sits level. This step is critical, an unbalanced blade creates the same vibration and uneven cutting you’re trying to fix.
- Reinstall the blade with the cutting edges facing the correct direction (toward the grass when the mower is upright). Thread the bolt back on and tighten to your mower manufacturer’s specified torque, usually between 35 and 50 foot-pounds. Under-torquing risks the blade won’t stay on during operation, while over-torquing can strip threads or crack the blade adapter.
After reinstallation, reconnect the spark plug wire and start the mower on a level surface. Let it run for 30 seconds and listen for unusual vibration or noise. If everything sounds smooth, make a test pass on your lawn and inspect the cut quality. A properly straightened and balanced blade should deliver clean, even cuts without the shaking or scalping you experienced before the repair.
When to Replace Instead of Repair

Sometimes the smartest fix is a fresh start. While straightening a blade can work for minor bends, certain damage patterns mean you’re better off investing in a replacement rather than risking your safety or lawn quality on a compromised blade.
Critical Signs That Demand Replacement
If you spot any of these conditions, skip the repair attempt and head straight to the hardware store. Cracks anywhere on the blade, especially near the mounting hole or along the cutting edge, make the blade unsafe regardless of how minor they appear. Metal doesn’t heal, and these weak points will fail catastrophically when spinning at 3,000+ RPM.
Multiple bends indicate the blade has absorbed severe impact or sustained repeated trauma. Each bend creates stress points that weaken the metal’s structure, and attempting to straighten multiple damaged areas rarely restores proper balance or integrity.
- Metal Fatigue
- Progressive weakening of metal from repeated stress cycles, visible as discoloration, surface pitting, or a dull appearance even after cleaning. Fatigued blades can snap unexpectedly during operation.
- Stress Fractures
- Hairline cracks that develop from impact or repeated flexing, often starting at bend points or mounting holes. These propagate over time and lead to complete blade failure.
- Blade Balance
- Equal weight distribution on both sides of the center mounting point. An unbalanced blade causes excessive vibration, damages the mower’s engine and deck, and produces uneven cuts.
The Math on Repair vs. Replace
A quality replacement blade costs $15-40 depending on your mower model, while the tools for proper straightening (vise, balancer, torque wrench) run $50-100 if you don’t already own them. If this is your first bent blade, replacement makes financial sense unless you plan to maintain equipment long-term.
Beyond the initial cost, consider performance. A professionally manufactured blade maintains precise aerodynamics and edge geometry that’s nearly impossible to replicate when hammer-straightening. That engineering translates to cleaner cuts, better grass health, and more efficient mowing.
When Repair Crosses Into Unsafe Territory
Blades that have been straightened once can often handle a second minor correction, but each repair weakens the metal further. If you’re attempting a third straightening on the same blade, you’re gambling with a component that experiences tremendous rotational forces. The risk of sudden failure, with blade fragments ejecting at high velocity, far outweighs the $20-30 you’d save.
Trust your judgment here. If the blade doesn’t look or feel right after straightening, or if you’re questioning whether it’s balanced, that hesitation is your instinct telling you to replace it.
Preventing Bent Blades: Proactive Lawn Mower Blade Care
The best fix for a bent blade is preventing it from happening in the first place. A few minutes of preparation before each mow and a consistent maintenance routine can save you hours of repair work and extend your blade’s lifespan significantly.
Walk your lawn before you mow. This simple habit catches problems before they become expensive repairs. Look for rocks that have surfaced after rain, fallen branches, children’s toys, sprinkler heads, and anything else that could hide in the grass. Pay special attention after storms or heavy winds when debris accumulates. Those five minutes of inspection protect both your blade and your wallet.
Adjust your mowing height based on terrain and conditions. Scalping over uneven ground or buried obstacles is a leading cause of blade damage. If you’re mowing a bumpy lawn or one with exposed roots, raise the deck. Yes, you might need to mow more frequently, but you’ll avoid the hard impacts that bend blades. Check out our cutting height tips for guidance on finding the right balance for your lawn type.
| Prevention Task | Frequency | Impact on Blade Longevity |
|---|---|---|
| Pre-mow lawn inspection | Before each mowing | High – prevents most impact damage |
| Blade balance check | Every 2-3 mowings | Medium – catches early imbalance issues |
| Sharpening and inspection | Every 20-25 hours of use | High – identifies wear before failure |
| Deck height adjustment review | Seasonally or when terrain changes | Medium – reduces ground contact risks |
Keep your blade sharp and balanced. A dull blade requires more force to cut, which increases vibration and stress on the blade itself. This fatigue makes the metal more susceptible to bending on impact. Sharp blades also deliver cleaner cuts that keep your lawn healthier, reducing the need for corrective mowing that exposes the blade to more potential hazards.
Consider upgrading to a more durable blade material if you regularly mow challenging terrain. High-carbon steel blades resist bending better than standard steel, though they cost more upfront. For most homeowners, proper care of a standard blade works fine, but if you’re replacing blades frequently due to bending, the investment in a tougher blade pays for itself.
This preventive approach aligns perfectly with sustainable lawn care. Blades that last longer mean less metal waste, fewer replacement purchases, and reduced environmental impact from manufacturing and shipping. You’re not just saving money, you’re making a choice that reduces your lawn care footprint.
Frequently Asked Questions
Can I mow with a slightly bent blade?
You should not mow with any bent blade, even a slight one. A bent blade creates vibration that stresses the engine and spindle assembly, leading to expensive damage over time, and it will leave an uneven cut that looks worse than missing a mowing session.
How often should I check blade straightness?
Check your blade at the start of each mowing season and any time you hear unusual vibration or notice an uneven cut. If you regularly mow areas with hidden obstacles like rocks or tree roots, inspect the blade monthly during the growing season.
Will a bent blade damage my mower?
Yes, operating with a bent blade causes vibration that can crack the deck, loosen bolts, damage bearings in the spindle assembly, and strain the engine. The repair costs from this secondary damage typically far exceed the cost of a replacement blade.
What’s the average lifespan of a mower blade?
A properly maintained blade typically lasts 100 to 200 hours of mowing, which translates to two to four seasons for most homeowners. Hitting obstacles shortens this lifespan, while regular sharpening and proper storage can extend it.
Is professional repair worth it for a bent blade?
Professional straightening usually costs nearly as much as a new blade, making it rarely worthwhile unless you have a specialized or expensive blade. For standard residential mower blades, replacement is the more cost-effective and safer choice.
How do I know if my blade is balanced after straightening?
Hang the blade on a nail through its center hole or use a dedicated blade balancer. If one end consistently dips, that side is heavier and needs material removed by sharpening or filing until the blade hangs level.
Incorporating blade inspections into your regular lawn care routine catches bending early, before it causes the kind of secondary damage that turns a simple fix into a major repair bill. Most bent blade problems trace back to mowing too fast over unfamiliar ground or skipping the quick pre-mow walk to spot new hazards, two habits that take minutes to change but save hours of repair work.
Bent lawn mower blades happen to every homeowner at some point, but catching them early makes all the difference. What might seem like a major equipment failure is often a straightforward repair that takes less than an hour and costs next to nothing. The key is making blade inspection a regular part of your lawn care routine, not something you remember only when your lawn starts looking ragged.
Healthy lawns start with sharp, straight blades that cut cleanly rather than tear grass. By checking your blade’s condition every few mows and addressing small bends before they worsen, you’ll maintain better cut quality and extend your mower’s lifespan. You’ll also avoid the vibration and stress that damaged blades put on your engine and deck.
Knowing when to straighten a blade and when to replace it isn’t just about fixing problems, it’s about responsible equipment stewardship. Minor bends are repairable with basic tools, but severely damaged blades need replacement for safety and performance. Either way, you’re taking control of your lawn care equipment instead of letting small issues snowball into expensive repairs or poor lawn health. Regular attention to your blade keeps your mower running efficiently and your grass looking its best season after season.