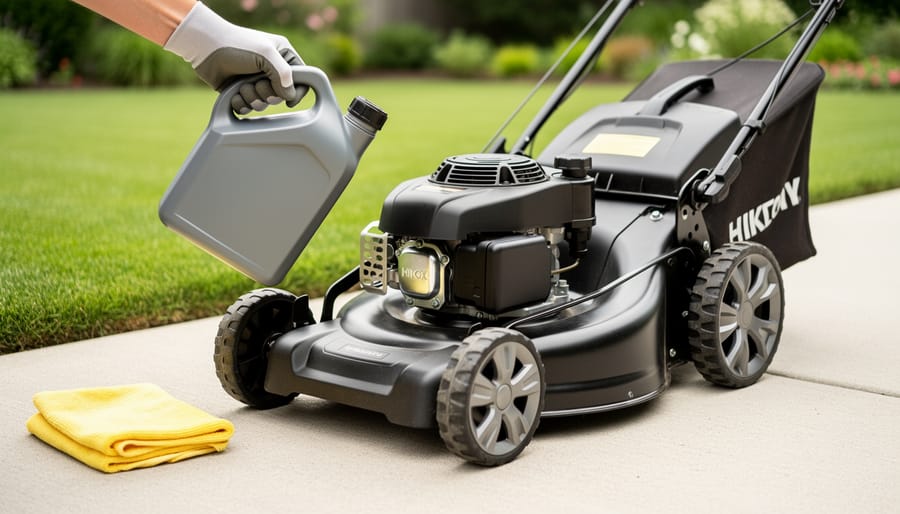
Most walk-behind lawn mowers take between 15 to 20 ounces of oil, which is roughly 0.5 to 0.6 quarts, while larger riding mowers typically require 1.5 to 2 quarts. The exact amount depends on your engine size and manufacturer specifications, so always check your owner’s manual before filling.
Getting this right matters more than you might think. Overfilling can cause smoking, fouled spark plugs, and engine damage from excessive pressure, while running low on oil leads to overheating and premature wear that can shorten your mower’s lifespan by years. I’ve seen too many perfectly good mowers end up in landfills simply because owners guessed at oil levels instead of measuring properly.
The good news? Checking and filling your mower oil is straightforward once you know what you’re doing. You’ll need about five minutes, a clean rag, and the right oil for your engine type. Most modern four-stroke mowers use SAE 30 for warmer months or 10W-30 for variable temperatures, though small engines have become more efficient in recent years and may specify synthetic blends.
This guide walks you through the complete process, from identifying your engine’s capacity to filling it correctly and verifying the level. Whether you’re performing seasonal maintenance or troubleshooting a performance issue, you’ll have the confidence to handle this essential task without waste or guesswork.
Quick Answer: Oil Capacity by Mower Type
Most walk-behind mowers hold between 15 and 18 fluid ounces of oil, which equals roughly half a quart. This includes both basic push mowers and self-propelled models. If you’re deciding between self-propelled vs push options, know that both typically use the same oil capacity since they share similar engine sizes.
Riding mowers need significantly more. Standard lawn tractors usually require 1.5 to 2 quarts, though some larger engines can take up to 2.5 quarts. Zero-turn mowers fall into a similar range, with most commercial-grade residential models holding between 1.5 and 2 quarts per engine.
Small commercial walk-behinds with larger displacement engines might hold 20 to 24 ounces, while commercial riders can range from 2 to 3 quarts depending on horsepower. The variation comes down to engine size and manufacturer specifications.
These numbers give you a solid starting point, but they’re not universal. Engine design varies between brands, and even within the same brand different model years can have different capacities. Your owner’s manual or the label stamped on your mower deck will always give you the exact amount your specific machine needs.
What You’ll Need to Check and Change Your Mower Oil
Before you start checking or changing your mower’s oil, gather everything you’ll need. Having these items ready makes the job smoother and helps you avoid those mid-task runs to the hardware store.
- Owner’s manual (or a downloaded PDF from the manufacturer’s website)
- Correct oil type matching your mower’s specifications
- Oil drain pan or container to catch old oil
- Funnel with a narrow spout for precise pouring
- Clean rags or paper towels
- Oil extractor pump (optional, but makes draining much cleaner)
- Gloves to keep your hands clean
Your owner’s manual is the most important item on this list. It tells you the exact oil capacity and the recommended oil type for your specific mower model. If you’ve misplaced the paper copy, most manufacturers post manuals online.
The oil itself deserves careful attention. You’ll see options like conventional SAE 30 (great for warm weather), 10W-30 (handles temperature swings), or synthetic blends. The viscosity rating matters because it affects how well the oil flows at different temperatures. Using 10W-30 in spring and fall makes cold starts easier, while straight SAE 30 works fine once summer heat arrives. Just like you wouldn’t use the wrong lawn mower air filter for your engine, choosing the right oil protects your investment.
An oil extractor pump, while optional, is worth considering if you change oil regularly. It sucks old oil out through the dipstick tube, eliminating the need to tilt the mower or fumble with drain plugs.
Safety First: What to Know Before You Start
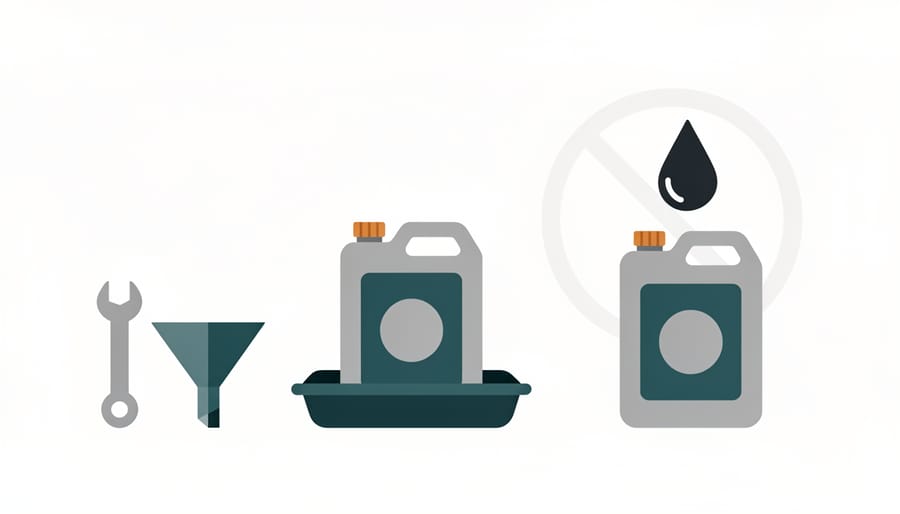
Before you touch a single drop of oil, a few simple precautions will keep you safe and protect your mower from damage.
First, let the engine cool down completely, at least 15 to 20 minutes after mowing. Hot oil can cause painful burns, and a hot engine makes accurate dipstick readings nearly impossible. If you’ve just finished cutting the grass, use that cooling time to gather your supplies or clean your mower deck.
Work on level ground. It sounds basic, but checking oil on a slope gives you a false reading, you might think you’re low when you’re actually fine, or worse, overfill without realizing it. Park on your driveway or a flat section of lawn, and if you’re changing oil, keep your drain pan handy.
Never overfill the oil reservoir. Too much oil creates excessive pressure that can blow out seals, foul the spark plug, and cause thick blue smoke that smells terrible and signals real engine stress. If you accidentally add too much, remove the excess immediately rather than hoping it’ll burn off.
Finally, dispose of used oil responsibly. Most auto parts stores and many municipal recycling centers accept used motor oil for free. One quart of oil can contaminate up to 250,000 gallons of water, so pouring it down a drain or onto the ground isn’t just illegal, it’s genuinely harmful to your local ecosystem. Collect the old oil in a sealed container and take it to a proper collection point.
How to Find Your Mower’s Exact Oil Capacity
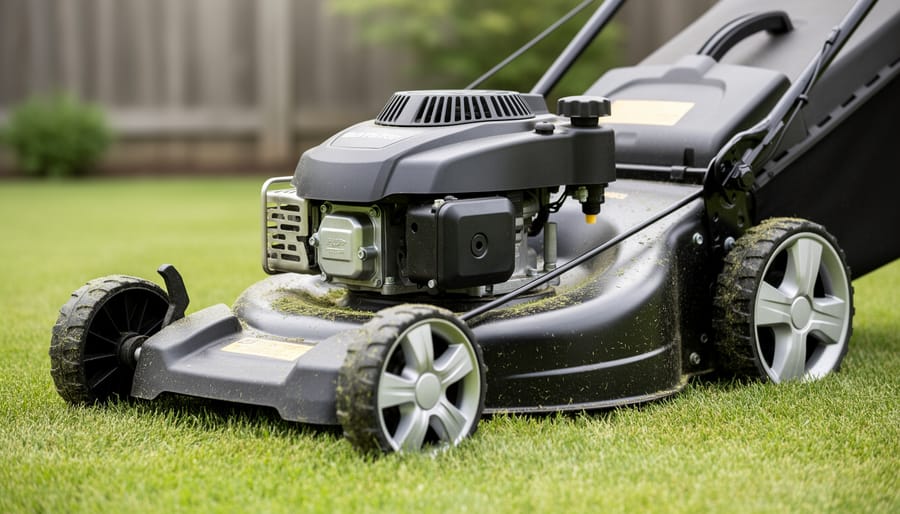
Your mower’s exact oil capacity depends on the engine model and design, not just whether it’s a push or riding mower. Generic capacity ranges are helpful starting points, but you need the precise figure to avoid underfilling or overfilling. Here’s how to track down that number for your specific machine.
- Check the owner’s manual first. This is your most reliable source. Look in the maintenance or specifications section, usually within the first few pages or in a dedicated chart near the back. The capacity is often listed as both fluid ounces and quarts.
- Examine the mower deck and engine for information labels. Many manufacturers stamp or affix a metal plate near the oil fill cap, on the engine housing, or along the mower deck’s side or rear. These labels typically show model and serial numbers along with basic specs like oil capacity and type. Clean off any grass clippings or dirt if the label is hard to read.
- Search the manufacturer’s website with your model number. If the manual is lost and you can’t find a label, head to the brand’s support page. You’ll need the full model number, which is usually printed on a label under the seat (for riders) or along the rear discharge area (for walk-behinds). Enter this number in the parts lookup or manual download tool to access your mower’s specifications.
For common brands, model numbers follow predictable patterns. Toro and Honda often place them near the rear wheel axle on push mowers. Craftsman and Cub Cadet typically stamp them on a plate below the seat or near the battery on riders. Husqvarna frequently uses a label on the cutting deck itself. Take a photo of the model number with your phone so you have it for future reference when ordering parts or oil.
If all three methods come up empty, contact the manufacturer’s customer service line directly with a description of your mower. They can usually identify the model from the engine type and year of purchase.
Step-by-Step: Checking and Filling Your Mower Oil
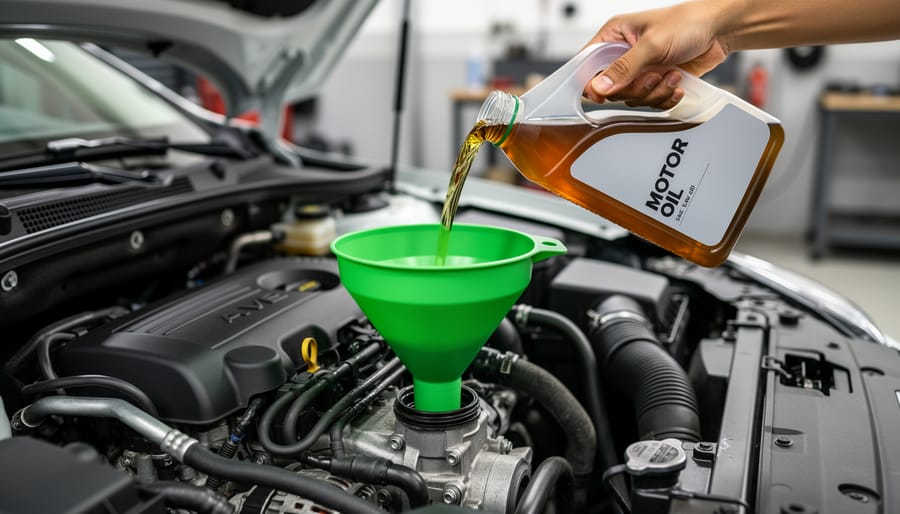
Reading the Dipstick Correctly
Reading the dipstick isn’t as simple as glancing at the stick and calling it done. You need to wipe it clean with a rag first, then reinsert it fully, either by screwing it back in completely or pushing it down to the threads, depending on your mower’s design. Different manufacturers use different marking systems, and misreading them is surprisingly common.
Most dipsticks have two marks: “Full” and “Add” (sometimes labeled “F” and “L” for full and low). Your oil level should sit between these marks, ideally closer to full. Some dipsticks use hash marks or a crosshatched “safe zone” instead. If the oil barely reaches the bottom mark or doesn’t coat the stick at all, you’re running dangerously low.
While you’re checking the level, look at the oil itself. Fresh oil appears amber or golden. If it’s turned black or looks gritty, you’re overdue for a change. Milky or frothy oil suggests water contamination, usually from a blown head gasket or condensation from infrequent use.
The trick is consistency: always check on level ground with the engine off and cool. Checking on a slope or immediately after running gives false readings that can lead you to overfill or run low without realizing it.
The Slow-Fill Method That Prevents Overfilling
The trick to avoiding overfill is treating oil additions like incremental steps rather than a single pour. For walk-behind mowers, add just 2-4 ounces at a time, that’s roughly a slow three-second pour from a typical quart bottle. For riding mowers, work in 8-ounce increments. After each addition, wait 10-15 seconds for the oil to settle into the crankcase, then check your dipstick.
I learned this the hard way years ago when I confidently poured what “looked about right” into my push mower, only to watch white smoke billow from the exhaust on startup. Excess oil had forced its way past seals and was burning off, a mess that required draining and starting over.
This slow approach feels tedious at first, but it takes maybe two extra minutes and saves you from a smoking engine, fouled spark plugs, or damaged gaskets. Think of those frequent dipstick checks as cheap insurance. You’ll quickly develop a feel for how much your specific mower needs, and the process becomes second nature by your third oil change.
How to Tell If You’ve Added the Right Amount
After you’ve added oil, take a moment to verify you’ve hit the sweet spot. Pull the dipstick out one more time, wipe it completely clean with your rag, reinsert it all the way, then remove it again for your final reading. The oil level should sit right at the full mark or within the safe zone between the add and full indicators. If the oil reaches just below the full mark, that’s perfect, it leaves a small expansion gap for when the engine heats up.
If the level sits above the full mark, you’ve overfilled and need to remove the excess before starting the engine. The easiest method is using a turkey baster or oil extractor pump to draw out small amounts until you’re back in the safe range. For minor overfills (just a hair over the line), you can tip the mower slightly and let a few drops drain back into your oil pan, then recheck. Never run an overfilled mower, the excess oil can foam up, leak past seals, foul the spark plug, or create blue smoke that’ll have your neighbors thinking your mower is on fire.
Once the level checks out, wipe any spilled oil from around the fill cap, secure the cap tightly, and reconnect the spark plug wire. Now start riding mower or walk-behind following your normal procedure. Let it idle for two to three minutes while you watch and listen closely.
The engine should run quietly without sputtering, knocking, or producing smoke. If you see white or blue smoke, shut it down immediately, you likely overfilled or spilled oil on hot engine parts. A small amount of smoke from residual oil on the outside of the engine is normal and will burn off, but heavy continuous smoke means something needs attention.
Choosing the Right Oil Type for Your Mower
Filling your mower with the right amount of oil matters, but choosing the correct oil type is just as important for long-term performance.
For most modern walk-behind mowers with vertical shaft engines SAE 30 is the go-to choice when temperatures stay above 40°F. It flows well in warm conditions and provides solid protection during typical mowing season use. If you mow year-round or live where spring mornings dip below freezing, switch to 10W-30. The “10W” means it flows better when cold while still protecting at higher temps. For genuinely cold starts below 32°F, 5W-30 gives you easier cranking without sacrificing engine protection once warmed up.
Conventional oil works fine if you change it annually or every 50 hours, whichever comes first. It costs less upfront and handles normal residential mowing without issue. Synthetic oil, while pricier, resists breakdown at high temperatures, flows better in cold weather, and can go 100-150 hours between changes in many mowers. That extended interval means fewer oil changes over the mower’s lifetime, which actually reduces waste and disposal hassles if you care about environmental impact. For weekend mowers, conventional makes sense. For commercial crews running equipment hard or homeowners who mow large properties weekly, synthetic pays off in longer engine life and less frequent maintenance.
One critical distinction: 4-stroke engines (most mowers) use straight motor oil as discussed above. 2-stroke engines (some trimmers, blowers, older push mowers) require oil mixed directly with gasoline, typically at 50:1 ratios. Never confuse the two. If your mower has a separate oil fill and doesn’t require gas-oil mixing, it’s a 4-stroke and needs regular motor oil only.
Check your manual’s temperature chart if available. Most list recommended viscosities for specific climate ranges, taking the guesswork out of seasonal switching. Matching oil type to your actual conditions prevents both hard starts and excessive engine wear.
Common Oil Capacity Questions Answered
Can I use car oil in my lawn mower?
Yes, you can use automotive oil in most four-stroke mowers, but check your manual first. Many mowers run fine on the same 10W-30 or 5W-30 you’d use in a car, though straight SAE 30 is often recommended for warmer climates and older engines.
How often should I change mower oil?
Change oil after the first five hours on a new mower, then every 50 hours of use or once per season, whichever comes first. If you mow in dusty conditions or push your mower hard, consider changing it more frequently.
What happens if I overfill the oil?
Overfilling creates excessive pressure that can blow out seals, cause blue smoke from the exhaust, foul the spark plug, and potentially damage internal engine components. If you’ve overfilled, remove the excess immediately using an oil extractor or by carefully draining some out.
Can I mix different oil brands?
Mixing brands is generally safe as long as they’re the same type and viscosity rating. However, avoid mixing conventional and synthetic oils if possible, and stick with one brand for consistency in performance and easier maintenance tracking.
If you don’t have your owner’s manual, you’re not stuck. Check the manufacturer’s website and search for your model number, which is usually stamped on the deck near the engine or on a metal plate. Most companies offer free PDF downloads of all their manuals. You can also call the manufacturer’s customer service line with your model and serial numbers, and they’ll tell you the exact capacity and recommended oil type.
Synthetic oil costs more upfront, but it’s worth considering if you mow frequently or in extreme temperatures. Synthetic oils last longer between changes, protect better in cold starts, and resist breakdown in hot conditions. From a sustainability standpoint, using synthetic and extending your change intervals to 75-100 hours means less waste oil to dispose of. It won’t rebuild mower engine issues caused by neglect, but it does offer superior protection that can extend engine life.
Electric mowers don’t need engine oil at all since they run on battery or corded power without a combustion engine. You might need to lubricate the blade spindle or wheel bearings occasionally with grease, but there’s no crankcase to fill. That’s one reason they appeal to folks looking for lower-maintenance options, though gas mowers still dominate for larger yards and tougher jobs.
Most walk-behind mowers hold 15 to 18 ounces of oil, while riding mowers typically need 1.5 to 2 quarts. But those numbers are just starting points. Your specific model might differ, which is why checking your owner’s manual should always be your first move. Those few minutes spent confirming the exact capacity can save you from overfilling mishaps or running your engine low.
Here’s the good news: checking and topping off your mower’s oil is genuinely one of the easiest maintenance tasks you’ll do. It takes less time than sharpening blades or cleaning the deck, yet it has an outsized impact on engine longevity. Make it part of your pre-season routine and quick checks every few mows, and you’ll catch problems before they become expensive repairs.
Don’t forget the sustainability angle. Dispose of old oil at a recycling center rather than pouring it down drains or into the soil. Many auto parts stores accept used oil for free. Small acts like these add up when multiplied across millions of homeowners.
The first time you do this, it might feel fiddly. By the third oil change, you’ll knock it out in ten minutes flat. Your mower will thank you with reliable starts and smooth operation for years to come.