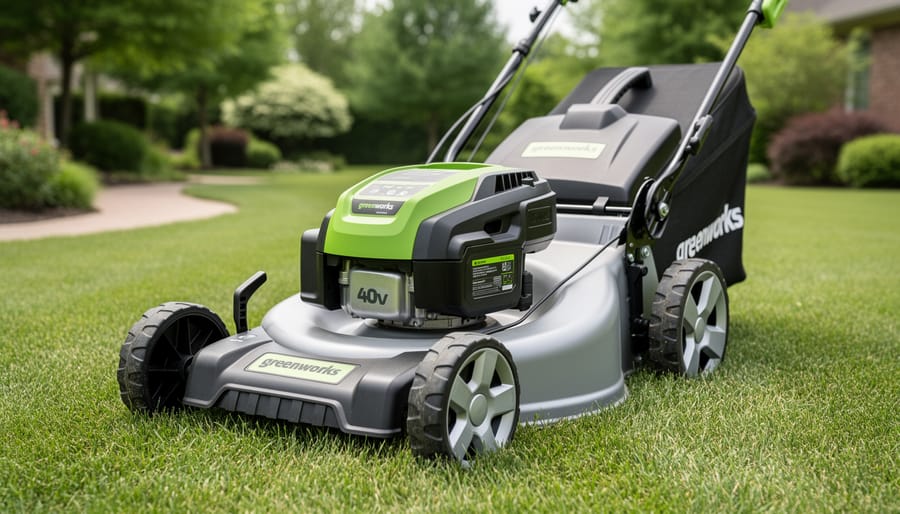
If your Greenworks 40V lawn mower won’t start, the most common culprit is a depleted or improperly seated battery. Before assuming something’s broken, press the battery firmly into its slot until you hear a click, then check that the safety key is fully inserted and the bail handle engages smoothly. These three checks solve roughly 70% of startup issues and take less than a minute.
Beyond simple battery problems, Greenworks 40V mowers can experience blade engagement failures, unexpected shutdowns during mowing, unusual noises, or poor cutting performance. Most of these issues stem from straightforward causes: grass buildup under the deck, a tripped thermal sensor, loose hardware, or blade dulling. The good news? You can diagnose and fix the majority of problems yourself with basic tools and about 30 minutes of your time.
This guide walks you through the exact troubleshooting sequence professional repair techs use, starting with the fastest fixes and progressing to less common issues. You’ll learn how to identify symptoms, pinpoint the root cause, and implement the right solution without guessing. We’ve also included preventive maintenance steps that can stop problems before they start, which is especially valuable if you’re committed to sustainable lawn care practices that extend equipment life and reduce waste.
Safety matters: always remove the battery before inspecting blades or reaching under the deck. If you encounter melted wiring, a cracked motor housing, or persistent electrical issues after following these steps, stop and consult Greenworks support or a certified technician. Some repairs require specialized tools or warranty consideration.
Common Greenworks 40V Mower Problems: Quick Symptom Guide
When your Greenworks 40V mower isn’t working as it should, the first step is figuring out exactly what’s going wrong. Most problems fall into distinct categories with telltale signs that point you toward the right solution. Here’s how to quickly identify what’s happening with your mower.
Start by observing what your mower does (or doesn’t do) when you try to use it. Complete silence when you press the start button signals a different issue than a mower that fires up but dies after a few passes. The symptoms you’re seeing will guide you to the specific troubleshooting steps you need.
| What You’re Seeing | Most Likely Cause | Where to Start |
|---|---|---|
| No response when starting | Battery not charged or seated properly | Check battery charge and connections |
| Starts then quickly stops | Overheating or deck clog | Let cool, clear grass buildup |
| Uneven or ragged cut | Dull or damaged blade | Inspect and sharpen blade |
| Battery drains very fast | Battery age or thick grass conditions | Test with fully charged battery |
| Rattling or grinding noise | Loose blade or debris in deck | Tighten blade bolt, remove debris |
Pay attention to when the problem occurs, too. Issues that happen right at startup typically involve the battery or safety mechanisms. Problems that develop after several minutes of mowing often relate to overheating or buildup. If your mower worked fine last week but struggles today, think about what changed, perhaps you’re cutting wetter grass or tackling growth that’s taller than usual.
The good news is that Greenworks 40V mowers are straightforward machines with fewer complex parts than gas mowers. Most problems have simple explanations and fixes you can handle yourself without special tools.
Mower Won’t Start or Turn On
Battery Connection and Charge Issues
The battery connection is usually the culprit when your Greenworks 40V mower refuses to start. Before you assume something serious is wrong, run through this systematic check of the battery and its connections.
Start by removing the battery completely from the mower. Look at the charge indicator lights on the battery itself, most Greenworks 40V batteries have LED lights that show charge status when you press a button. If all lights are off or only one is lit, the battery needs charging. Pop it onto the charger for at least 30 minutes, even if you think it was charged recently. Batteries can self-discharge when sitting unused.
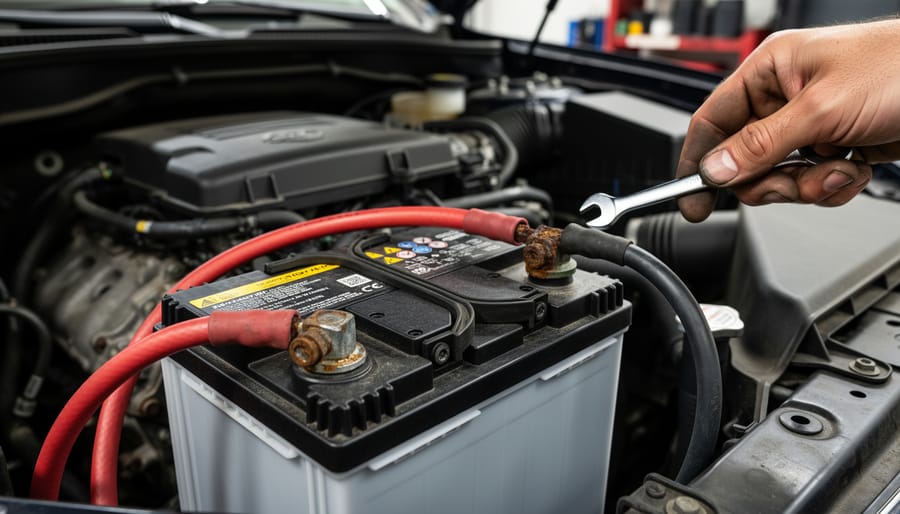
- Remove the battery and inspect both the battery terminals and the mower’s contact points for dirt, grass clippings, or corrosion. Even a thin film of debris can prevent proper electrical contact.
- Wipe both sets of contacts with a clean, dry cloth. For stubborn grime or light corrosion, use a cotton swab dipped in rubbing alcohol, then let it dry completely.
- Reinsert the battery firmly into the mower, pushing until you hear or feel it click into place. A partially seated battery is one of the most common causes of no-start issues.
- If the mower still won’t start, try a different Greenworks 40V battery if you have one available. This quickly tells you whether the problem is with the battery or the mower itself.
Pay attention to the battery temperature too. Greenworks batteries have built-in thermal protection that prevents charging or use when they’re too hot or too cold. If your battery feels warm to the touch after charging or cold from being stored in a garage during winter, let it reach room temperature before trying again. This simple wait often solves mysterious starting failures that have nothing to do with the battery’s actual charge level.
Safety Key and Bail Lever Problems
The Greenworks 40V mower uses two essential safety features that prevent accidental starts: the safety key and the bail lever. The safety key is a removable plastic insert that must be fully seated in its slot before the mower will operate. The bail lever is the handle you squeeze against the grip while mowing, release it, and the motor cuts off immediately.
If your mower won’t start, check the safety key first. It needs to click firmly into place, flush with the mower body. A partially inserted key is the most common culprit. Remove it completely, inspect for dirt or damage, then reinsert it until you hear a distinct click. Keep your spare key handy if the original goes missing, as you can’t run the mower without one.
The bail lever causes problems when it’s not fully engaged against the handle. You need to squeeze it all the way, not just partially. Over time, the lever cable can stretch or fray, preventing complete contact with the safety switch. Look for a cable hanging loose near the handle or a lever that feels mushy rather than firm.
Test the lever by squeezing it fully while someone watches the cable mechanism move. If the cable doesn’t pull tight or the lever won’t stay engaged, you’ll need to adjust the cable tension using the adjustment nut (consult your manual for location) or replace a worn cable. This is a straightforward fix that takes about fifteen minutes with basic tools.
Motor and Electrical Failures
When you’ve verified the battery is charged and properly connected, checked the safety key, and confirmed the bail lever engages correctly, but the mower still won’t start, you’re likely dealing with a motor or electrical fault. This is where troubleshooting becomes trickier.
First, look for diagnostic clues. Some Greenworks 40V models have LED indicator lights on the battery housing. A solid red light typically signals an error, while flashing patterns may indicate specific faults. Check your owner’s manual for what these codes mean, as they vary by model. If the battery lights show green but the mower remains completely dead, the issue is in the mower itself, not the power source.
Listen when you press the start button. A clicking sound suggests the motor is trying to engage but can’t. Complete silence often points to a failed connection in the electrical circuit or a burnt-out motor controller. Either way, these aren’t simple fixes.
Here’s the practical reality: motor and control board repairs require specialized knowledge and tools. Opening the motor housing voids most warranties and risks further damage if you’re not trained. If your mower is under warranty, contact Greenworks support immediately, they’ll guide you through advanced diagnostics or arrange repair. For out-of-warranty mowers, get a repair quote from an authorized service center. Sometimes replacement costs less than professional motor repair, though that’s a decision only you can make based on the mower’s age and overall condition.
Mower Starts Then Stops or Loses Power
Overheating and Thermal Shutdown
Greenworks 40V mowers feature built-in thermal protection that automatically shuts down the motor when it detects excessive heat buildup. This safety mechanism prevents permanent damage to the motor and battery, so while frustrating mid-mow, it’s actually protecting your investment.
Your mower most likely overheated if it suddenly stopped during use and won’t restart immediately. Common triggers include cutting thick, overgrown grass that forces the motor to work harder, mowing wet or damp grass that creates extra resistance, or running the mower continuously for extended periods without breaks. You might also notice the motor housing feels warm to the touch.
When thermal shutdown occurs, stop immediately and turn off the mower. Remove the battery and let both the mower and battery cool down for at least 15-20 minutes before attempting to restart. Don’t try to force it to run sooner, the thermal sensor needs time to reset.
Prevention is straightforward. Take breaks every 20-30 minutes during large mowing jobs, especially on hot days. Mow when grass is dry rather than early morning or after rain. If your lawn got away from you and the grass is tall, make two passes at different heights instead of trying to cut it all at once. Keep the underside of the deck clean, since grass buildup makes the motor work harder and generates more heat. These simple habits will keep your mower running smoothly through the entire job.
Deck Clogs and Blade Obstructions
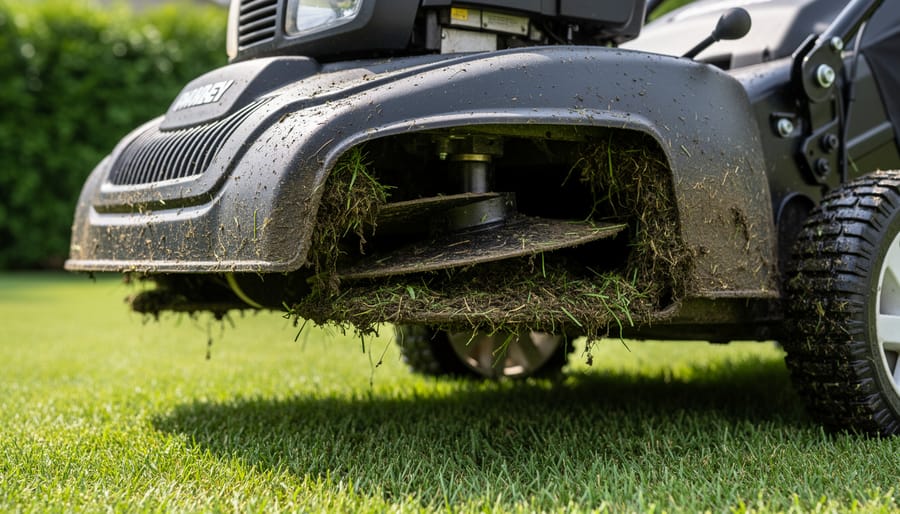
Grass clippings, mud, and debris inevitably accumulate under your mower deck during use, and on Greenworks 40V models this buildup creates serious problems. When the deck clogs with compacted grass, the blade can’t spin freely, the motor strains against the resistance, draws excessive current, and triggers the thermal protection system to shut down. You’ll typically notice the mower gradually losing power or suddenly cutting out, especially when pushing through thicker sections of lawn.
Tip the mower on its side (air filter and carburetor up, though electric models are more forgiving than gas mowers) and inspect underneath. Use a plastic scraper or putty knife to remove packed grass from the deck interior, working around the blade housing and discharge chute. A stiff brush helps clear stubborn debris, and a garden hose can finish the job, though let everything dry thoroughly before reconnecting the battery.
While you’re under there, check that nothing has wrapped around the blade spindle, twine, wire, plastic bags, and thick weeds commonly wind around the shaft and prevent proper blade rotation. Spin the blade by hand (with battery still removed) to confirm it moves freely without catching or grinding. If you feel resistance or hear scraping, investigate further for hidden obstructions or bent components.
Regular deck cleaning after every few mows prevents these shutdowns entirely and actually extends battery runtime, a clean blade cuts more efficiently, drawing less power and keeping your lawn healthier.
Poor Cutting Performance
Dull or Damaged Blades
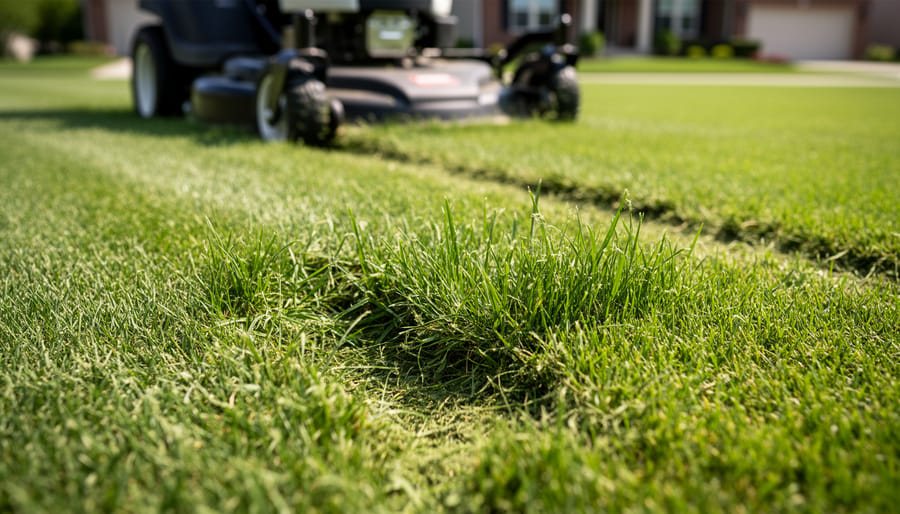
A dull blade is one of the most common reasons for poor cutting performance, and it’s often overlooked because the mower still runs normally. The clearest sign your blade needs attention is how your grass looks after mowing. dull blades tear grass rather than slice it cleanly, leaving ragged edges that turn brown within a day or two. If your lawn looks fuzzy or grayish after cutting, inspect the blade.
Remove the battery, tip the mower to access the underside, and carefully examine the cutting edge. A sharp blade has a clean, defined edge, while a dull one appears rounded or nicked. Light nicks and general dullness respond well to sharpening with a metal file or bench grinder, remove the blade, secure it in a vise, and file at the existing angle until you restore a clean edge. Balance the blade afterward by hanging it on a nail through the center hole; it shouldn’t tip to one side.
Replace the blade entirely if you see deep gouges, cracks, or severe bending from hitting rocks or roots. Damaged blades create dangerous vibrations and won’t cut properly even when sharpened. For average residential lawns, plan to sharpen your blade two or three times per season, more if you’re mowing over sandy soil or frequent sticks.
Incorrect Cutting Height and Wheel Adjustment
Uneven cutting often results from mismatched wheel heights rather than blade problems. Walk around your mower and check each wheel’s height setting, you’ll typically find a lever or dial near each wheel. All four wheels must be at the same position for level cuts. If you’re getting scalped patches alternating with missed strips, the front and rear wheels are probably at different heights.
Your Greenworks 40V offers multiple height positions, usually ranging from about 1.5 to 4 inches. For healthy lawns, avoid cutting more than one-third of the grass blade length in a single mowing. If your grass has grown tall, raise the deck for the first pass, then lower it gradually over subsequent mowings rather than dropping straight to your desired height.
The cutting height adjustment mechanism can stick from grass buildup or rust. If a lever won’t move smoothly, clean around it with a wire brush and apply a light lubricant. Check that each wheel clicks firmly into position, loose or partially engaged settings cause the wheel to shift during mowing, creating that telltale wavy pattern across your lawn.
Battery Not Charging or Draining Quickly
Charger and Connection Problems
If your battery won’t charge, start with the basics before assuming the battery itself is faulty. First, verify your outlet has power, plug in another device or use a voltage tester to confirm. Sometimes a tripped breaker or dead outlet is the culprit, not your equipment.
Next, inspect both the charger and battery charging contacts. Look for green corrosion, dirt, or grass clippings on the metal terminals. Even a thin layer of debris blocks the electrical connection. Clean contacts gently with a dry cloth or cotton swab dipped in rubbing alcohol. For stubborn corrosion, a pencil eraser works surprisingly well, just wipe away residue afterward.
Check that the battery clicks firmly into the charger. A loose fit prevents charging. Listen for the click, and watch for the charger’s indicator light. No light usually means either no power to the outlet or a faulty charger. Greenworks chargers should show red while charging and green when complete.
Test your charger with another 40V Greenworks battery if possible, or try your battery in a friend’s charger. This isolates whether the problem lies with the battery or charger. Keep contacts clean the same way you’d ensure your blade stays on securely or check proper blade orientation small maintenance habits prevent bigger headaches.
Battery Age and Replacement
Greenworks 40V batteries typically last 3-5 years with normal use, though heavy users might see degradation sooner. If your battery once ran for 45 minutes but now dies after 15-20 minutes on a full charge, it’s showing its age.
Watch for these clear signs your battery needs replacing: significantly reduced runtime even after a full charge, the battery getting unusually hot during use or charging, taking much longer to charge than it used to, or the charge indicator showing full but the mower dying quickly. Physical swelling or cracks in the battery casing mean immediate replacement, don’t use a damaged battery.
Before buying new, check your warranty. Greenworks batteries often have 2-4 year warranties that cover degradation issues.
When replacement time comes, never toss lithium-ion batteries in regular trash. Take them to Home Depot, Lowe’s, or any retailer with a Call2Recycle drop-off, it’s free and keeps toxic materials out of landfills while recovering valuable metals for new batteries. Greenworks also accepts old batteries at service centers. Proper recycling is a small step that makes your sustainable lawn care truly sustainable.
Unusual Noises or Vibrations
Electric mowers are notably quieter than gas models, which makes unusual sounds particularly noticeable and concerning when they do occur. While a gentle humming from the motor is normal, any rattling, grinding, or excessive vibration signals a problem that needs immediate attention before you continue mowing.
Understanding What You’re Hearing
Different sounds point to different issues, and recognizing them helps you diagnose the problem quickly:
- Grinding or scraping noise
- Indicates the blade is hitting debris lodged in the deck, or the blade itself is damaged and scraping against the housing. Stop immediately and inspect.
- Rattling or clunking
- Usually means the blade bolt has loosened, allowing the blade to wobble, or there’s a foreign object caught between the blade and deck.
- High-pitched squealing
- Suggests a bearing issue in the blade assembly or motor mount, often caused by lack of lubrication or worn components.
- Motor hums but blade doesn’t move
- The blade is jammed by debris or grass buildup, preventing rotation even though the motor is trying to turn.
The first step is always to disconnect the battery before investigating. Check the blade bolt, it should be snug but not overtightened. A loose bolt is the most common culprit for vibration and rattling. Remove any grass clumps or sticks wedged around the blade or inside the deck.
Inspect the blade itself for damage like bent edges, cracks, or missing chunks. Even minor blade damage causes significant vibration and poor cutting. If the blade looks fine and is properly secured but vibration persists, you may have a bent blade spindle or worn motor bearings, which typically require professional service.
Regular attention to lawn care basics like clearing the deck after each use prevents most noise issues from developing in the first place.
Preventing Future Problems: Maintenance Best Practices
After Each Use
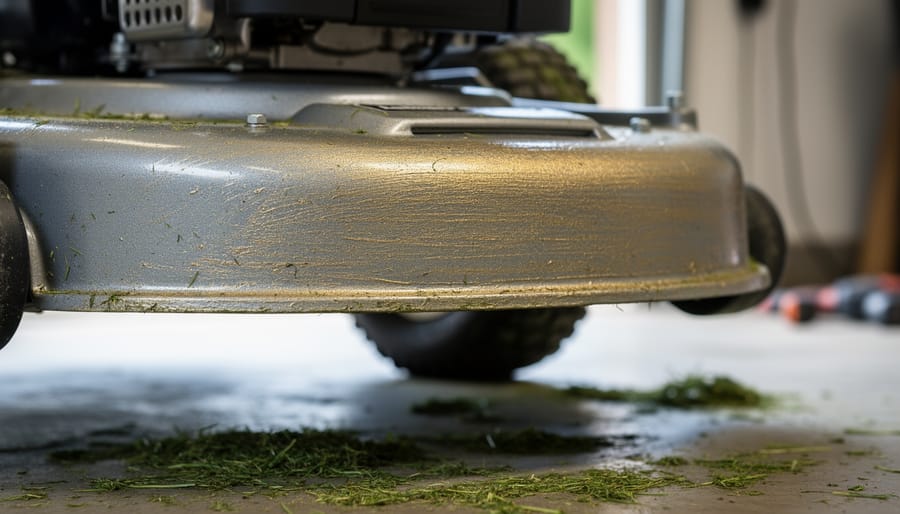
After each mowing session, spend just two minutes on basic maintenance that prevents most problems. First, tip the mower on its side (battery removed, of course) and use a plastic scraper or stiff brush to remove grass clippings stuck to the underside of the deck. Wet clippings left to dry form a cement-like layer that strains the motor and dulls your blade faster.
While you’re there, give the blade a quick visual check for nicks or bends, catching damage early means you can sharpen rather than replace. Wipe down the mower housing with a damp cloth to keep vents clear of debris.
For the battery, let it cool for 15 minutes before recharging if it feels warm. Store batteries in a cool, dry location between 50-77°F, never in direct sunlight or freezing temperatures. A battery that’s cared for between cuts will deliver consistent power and last significantly longer.
Seasonal and Long-Term Storage
Proper off-season storage prevents most spring startup headaches and extends your mower’s life significantly.
Start by giving the mower a thorough cleaning, remove all grass clippings from the deck, wheels, and vents. Even small amounts of debris can trap moisture and cause corrosion over winter. Let everything dry completely before storage.
The battery needs special attention. Store it indoors at room temperature, never in an unheated garage or shed where freezing temperatures can permanently damage the cells. Charge it to about 30-50% before storage, not fully charged and definitely not empty. Check the charge every two months during winter and top it up if it’s dropped below 30%.
Store the mower itself in a dry location, ideally covered with a breathable tarp to keep dust off while allowing any residual moisture to escape. Avoid plastic covers that trap humidity.
Before your first spring mow, inspect the blade for winter damage, clean any dust from the motor vents, and fully charge the battery. Test run the mower for a few minutes to ensure everything’s working properly. This pre-season check catches small issues before they become mowing-day disasters.
Blade Sharpening Schedule
A good rule of thumb is to sharpen your Greenworks 40V mower blade every 20-25 hours of mowing time. For most homeowners, that translates to 2-3 times per season. If you have a larger lawn or mow frequently, you might need sharpening monthly during peak growing season.
Grass type and conditions matter too. Mowing sandy soil, hitting the occasional stick, or cutting tough weeds will dull blades faster than maintaining a smooth, established lawn. You’ll know it’s time when grass tips look torn and brownish rather than cleanly cut.
Sharp blades aren’t just about appearance, they’re better for your lawn and your battery. Clean cuts help grass recover faster and resist disease, while dull blades force the motor to work harder, draining your battery more quickly. It’s a simple maintenance step that pays off in healthier grass and longer equipment life.
When to Contact Greenworks Support or Seek Professional Repair
While many Greenworks 40V mower issues can be resolved at home, some problems require professional expertise. Recognizing when to seek help protects you from causing additional damage and ensures your mower receives proper care.
Contact Greenworks support or an authorized service center if you encounter persistent electrical issues, such as error codes that remain after basic troubleshooting, burning smells, or visible damage to the motor housing. Internal motor problems, controller board failures, and switch malfunctions typically require specialized tools and knowledge. Don’t attempt repairs that void your warranty or put your safety at risk.
Check your warranty status before pursuing repairs. Greenworks offers a 4-year warranty on their 40V tools, which covers manufacturing defects and component failures. Attempting DIY repairs on certain components may void this coverage, so review your warranty documentation first. Contact Greenworks customer service through their website or at 1-888-90-WORKS to discuss your specific issue and determine if warranty service applies.
Find authorized service centers through the Greenworks dealer locator on their website. These technicians have factory training and access to genuine replacement parts, ensuring quality repairs that maintain your mower’s performance and safety standards.
Before writing off a non-functioning mower as unfixable, consider the environmental impact. Electric mowers like the Greenworks 40V represent a significant step toward sustainable lawn care. Professional repair often costs less than replacement and keeps equipment out of landfills. Even if repair costs seem high, weigh them against the environmental cost of manufacturing and shipping a new unit. Sometimes investing in proper repair makes both economic and ecological sense.
Frequently Asked Questions
How long should a fully charged 40V battery last during mowing?
Runtime depends on your battery capacity and grass conditions, but typically a 4.0Ah battery provides 40-50 minutes of cutting time on average lawns. Thick, wet grass or tall weeds drain the battery faster, while regular-height dry grass extends runtime.
Can I use other brands of 40V batteries in my Greenworks mower?
No, Greenworks 40V batteries are designed specifically for their system and won’t fit or work properly with other brands. Stick with genuine Greenworks 40V batteries to avoid compatibility issues and maintain your warranty coverage.
What does the Greenworks warranty cover for troubleshooting issues?
Most Greenworks 40V mowers come with a 4-year warranty covering defects in materials and workmanship, including motor failures and electrical issues. Normal wear items like blades aren’t covered, and the warranty is void if you’ve modified the mower or used it improperly.
Are replacement parts readily available for Greenworks 40V mowers?
Yes, common parts like blades, grass bags, and mulching plugs are widely available through Greenworks’ website, major retailers, and authorized dealers. For more specialized components like motors or control modules, you may need to order directly from Greenworks or go through an authorized service center.
Beyond these common questions, many owners wonder about the environmental advantages of sticking with their Greenworks electric mower rather than switching back to gas. Electric mowers produce zero direct emissions, run much quieter than gas models, and require less maintenance overall since there’s no oil changes, spark plugs, or air filters to deal with. When you troubleshoot and repair your Greenworks mower instead of replacing it, you’re making the sustainable choice, extending the life of a product you already own and keeping it out of the landfill. The battery-powered design also means you’re avoiding the pollution that comes from storing and handling gasoline, which can evaporate and contaminate soil if spilled. Even the energy used to charge your battery is cleaner than burning gas directly in a small engine, especially if your home uses renewable energy sources.
Most Greenworks 40V lawn mower problems you’ll encounter come down to simple fixes that take just a few minutes. Whether it’s cleaning battery contacts, clearing deck clogs, or sharpening blades, you now have the knowledge to handle these issues yourself. There’s genuine satisfaction in troubleshooting your own equipment rather than immediately hauling it to a repair shop or assuming it’s time for a replacement.
Taking care of these repairs yourself does more than save money. Every time you fix rather than replace, you’re keeping functional equipment out of landfills and reducing the environmental impact of manufacturing new products. Your Greenworks mower was designed with sustainability in mind, and maintaining it properly honors that commitment. Regular cleaning, blade care, and battery maintenance can extend your mower’s life by years, making it a truly sustainable investment in your lawn care routine.
Don’t underestimate the value of connecting with other Greenworks owners, either. Online communities and forums are filled with people who’ve faced the exact same issues you’re dealing with. They share photos of specific fixes, recommend tools that work best, and offer encouragement when you’re stuck. The collective experience of these communities often reveals solutions that aren’t in the manual.
Your Greenworks 40V mower is built to last. With the troubleshooting skills you’ve learned here and a commitment to regular maintenance, you’ll keep it running smoothly season after season.