You’ve done everything right—prepared the soil, laid down fresh sod or seed, watered diligently—yet your new grass is turning an alarming shade of yellow. Don’t panic. This is one of the most common lawn care challenges, and it’s almost always fixable once you identify the culprit.
Yellowing new grass typically signals one of five issues: overwatering that’s drowning roots and depleting oxygen, underwatering that’s stressing tender shoots, nitrogen deficiency in poor soil, compacted ground preventing root establishment, or disease taking hold in vulnerable young grass. The good news? Each cause has a straightforward solution that doesn’t require expensive chemicals or professional intervention.
Check your watering schedule first—new grass needs consistent moisture but not saturation. Press your finger two inches into the soil; it should feel damp but not soggy. If water pools on the surface or the ground feels spongy, you’re overdoing it. Conversely, if the soil is dry and the grass blades feel crispy, increase frequency. For nitrogen-starved lawns, a light application of organic fertilizer works wonders without burning tender roots.
This guide will walk you through diagnosing your specific yellowing issue and implementing targeted fixes that work with nature, not against it. We’ll also cover prevention strategies from our comprehensive lawn care guide to keep your lawn thriving long-term. Your lush, green lawn is closer than you think.
Understanding Why New Grass Turns Yellow
I know how disheartening it is to see your freshly planted grass turning yellow when you’ve put so much effort into establishing a beautiful lawn. Take a deep breath—yellowing grass is actually one of the most common issues new lawn owners face, and the good news is that it’s usually fixable once you identify the underlying cause.
Think of yellowing as your grass’s way of sending up a distress signal. It’s telling you something in its environment isn’t quite right, whether that’s related to watering, nutrition, soil conditions, or even pest activity. The key is understanding that yellow grass is a symptom, not the disease itself.
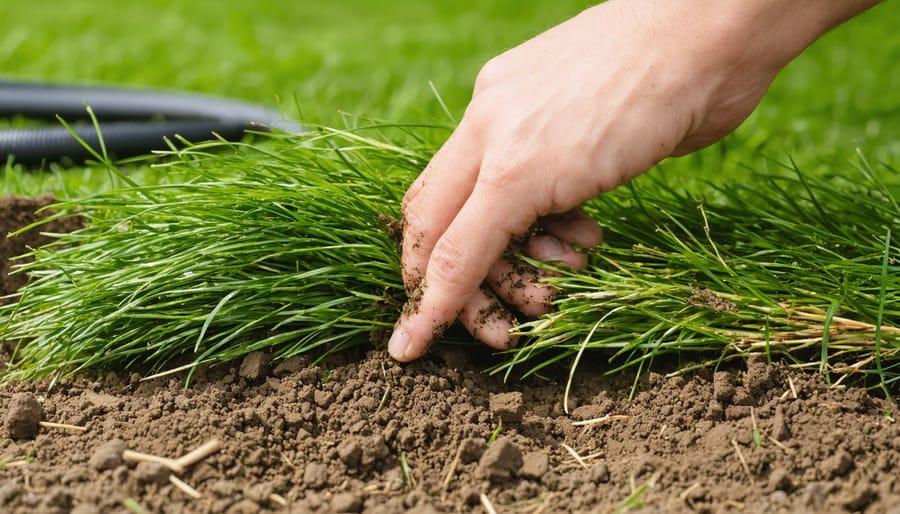
New grass is particularly vulnerable during its first few weeks because it hasn’t yet developed the robust root system that established turf relies on. While mature grass can tap into deeper soil resources and weather temporary stress, newly germinated seedlings or fresh sod are entirely dependent on consistent surface-level conditions. Their shallow roots mean they’re more sensitive to fluctuations in moisture, temperature, and nutrient availability.
This establishment period typically lasts 3-8 weeks, depending on your grass type and growing conditions. During this critical window, your new lawn needs attentive care and monitoring. Understanding why yellowing occurs—and recognizing that it’s often a temporary, correctable issue—puts you in the best position to diagnose the problem accurately and take the right steps toward recovery.

The Most Common Culprits Behind Yellow New Grass
Watering Issues: Too Much or Too Little
Water is often the culprit when new grass turns yellow, but here’s the tricky part—both too much and too little can cause the same symptom. Understanding which problem you’re facing is crucial for getting your lawn back on track.
**Overwatering** creates a suffocating environment where grass roots can’t access oxygen. Signs include a spongy, waterlogged feel underfoot, persistent puddles, and a musty smell. The yellowing typically appears uniform across watered areas, and you might notice mushrooms popping up—nature’s way of saying “this soil is too wet!” Overwatered grass also develops shallow roots, making it vulnerable to disease and stress.
**Underwatering**, conversely, causes grass to go into survival mode. The yellowing often starts in patches, particularly on slopes or areas with poor soil. The ground feels hard and dry, and footprints remain visible long after you’ve walked across the lawn. Grass blades may curl inward or develop a grayish-blue tint before turning yellow.
Here’s a simple diagnostic: perform the finger test. Push your finger into the soil near the yellowing grass. If it’s soggy beyond the top inch, you’re overwatering. If it’s dry and crusty even two inches down, you’re underwatering. Ideally, soil should feel moist but not waterlogged at 3-4 inches deep.
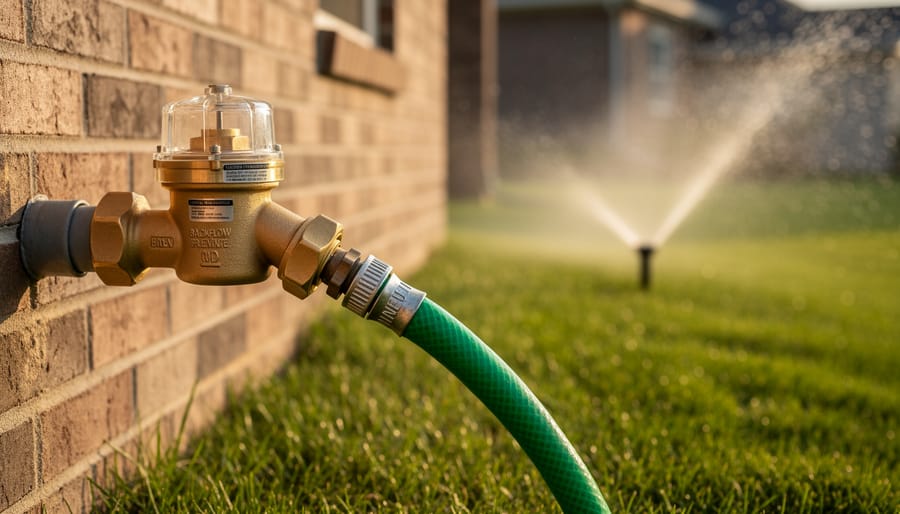
New grass needs consistent moisture—about 1-1.5 inches weekly—but drainage is equally important. Adopting proper watering techniques means deep, infrequent watering rather than shallow, frequent sessions. This encourages deeper root growth and creates a more resilient, sustainable lawn that won’t need constant intervention.

Nitrogen Deficiency: When Your Soil Is Running on Empty
Think of nitrogen as the protein in your lawn’s diet—without enough of it, your grass simply can’t build the vibrant green tissue you’re hoping for. New grass is especially vulnerable to nitrogen deficiency because it’s working overtime to establish roots and shoots simultaneously, depleting whatever nutrients are available in the soil much faster than mature lawns.
Here’s how to spot if nitrogen shortage is your culprit: the yellowing typically starts with older blades first, creating a pale yellow-green color that spreads uniformly across your lawn rather than in patches. Unlike disease or drought stress, nitrogen-starved grass will yellow evenly, almost like someone’s slowly turning down the saturation on a photo. You might also notice slower growth than expected—your new grass just seems to be sitting there, not filling in as quickly as it should.
The good news? This is one of the easiest problems to fix. A simple soil test will confirm nitrogen levels and guide your approach. For a sustainable solution, consider applying organic options like compost tea, aged manure, or slow-release organic fertilizers that feed both your grass and the beneficial soil microbes. These methods improve soil health long-term rather than providing just a quick nitrogen hit that washes away with the next rain.
Soil Compaction and Poor Drainage
Compacted soil is like trying to breathe through a pillow—your grass roots simply can’t get the air, water, and nutrients they need to thrive. When soil becomes too dense, often from foot traffic or heavy equipment during installation, roots struggle to penetrate downward. The result? Shallow root systems that can’t access moisture or nutrients, leading to that telltale yellow appearance.
Here’s a simple test you can do right now: Push a screwdriver into your soil. If it doesn’t slide in easily to at least 6 inches deep, you’ve likely got compaction issues. Another red flag is water pooling on your lawn after rainfall or irrigation—this indicates poor drainage that keeps roots waterlogged and oxygen-starved.
The good news? Core aeration is your best friend here. This process removes small plugs of soil, allowing air, water, and nutrients to reach the root zone. For new lawns, you might need to wait until the grass is well-established before aerating, but adding organic matter like compost to the surface can help improve soil structure in the meantime. Consider installing a rain garden or adjusting your landscape’s grade if drainage problems persist—these sustainable solutions benefit both your lawn and the environment.
pH Imbalance: The Hidden Chemistry Problem
Soil pH acts like a gatekeeper for nutrients—when it’s off, your grass literally can’t access the food it needs, even if fertilizer is present. Think of it as having a fully stocked pantry behind a locked door. Most lawn grasses thrive in slightly acidic soil (pH 6.0-7.0), but new construction sites or heavily amended beds often have pH extremes that leave grass starving.
If your yellowing appears uniform across the lawn despite proper watering and fertilizing, pH imbalance might be your culprit. You’ll often notice stunted growth alongside the discoloration—grass that just won’t take off no matter what you do. Regional factors play a role too: areas with high rainfall tend toward acidic soil, while arid regions often skew alkaline.
The good news? A simple soil test from your local extension office (usually under $20) reveals exactly where you stand. This small investment prevents the frustrating cycle of throwing solutions at a problem you haven’t properly identified. For new grass, correcting pH early establishes a strong foundation for years of healthy growth.
Heat Stress and Environmental Factors
New grass is particularly vulnerable to environmental stress, and sometimes Mother Nature herself is the culprit behind those yellow patches. If you’ve planted during a heat wave or in the blazing summer months, your tender seedlings might be struggling with temperature shock. Young grass has shallow roots that can’t yet reach deeper, cooler soil moisture, making it especially susceptible to scorching.
Excessive sun exposure, particularly in unshaded areas, can literally cook delicate new blades. This is especially true if you’re seeding south-facing slopes or areas with reflected heat from nearby pavement or buildings. The combination of intense UV rays and high temperatures can overwhelm grass that hasn’t developed protective resilience yet.
Timing matters enormously. Planting outside the ideal windows—cool-season grasses thrive when seeded in early fall or spring, while warm-season varieties prefer late spring—sets your lawn up for stress from the start. Protecting grass from heat stress becomes critical during vulnerable establishment periods.
Consider providing temporary shade with row covers during extreme heat, adjusting watering schedules to early morning when temperatures are cooler, and being patient. Sometimes, simply waiting for milder weather allows struggling grass to recover naturally.
Quick Fixes: Getting Your New Grass Back on Track

Adjusting Your Watering Schedule
Getting your watering schedule right can feel like a balancing act, but once you understand what new grass truly needs, it becomes second nature. The golden rule? Deep and infrequent watering beats shallow and frequent every time.
New grass needs about 1 to 1.5 inches of water per week, but here’s the key: apply it in 2-3 sessions rather than daily sprinkles. This encourages roots to grow deeper, searching for moisture below the surface. Think of it as teaching your grass to be self-sufficient—you’re setting it up for long-term resilience while actually conserving water in the process.
Water early in the morning, ideally between 6 and 10 AM. This timing reduces evaporation loss and allows grass blades to dry before evening, preventing fungal diseases that thrive in damp, dark conditions. I’ve seen too many well-intentioned homeowners water at noon during summer, essentially losing half their water to thin air.
To check if you’re watering deeply enough, place a few tuna cans around your lawn during irrigation. You’re aiming for about half an inch per session. Push a screwdriver into the soil afterward—it should penetrate easily to about 6 inches deep.
Here’s the sustainability bonus: proper watering actually uses less water overall. By training roots to grow deeper, your grass becomes drought-tolerant faster, eventually needing less frequent watering. You’re not just fixing yellow grass; you’re building an efficient, environmentally-conscious lawn that works with nature rather than against it.
Feeding Your Lawn the Right Way
New grass needs a gentle touch when it comes to feeding. Think of your seedlings like newborns—they need nutrition, but overfeeding can do more harm than good.
**Timing is Everything**
Wait until you’ve mowed your new lawn at least 2-3 times before applying any fertilizer. This typically means waiting 4-6 weeks after germination. Those tiny roots need time to establish themselves first. If your grass is yellowing before this point, the culprit is likely something other than nutrient deficiency.
**Choose the Right Food**
For new lawns, a starter fertilizer with a higher phosphorus content (the middle number in the N-P-K ratio) encourages strong root development. Look for organic options like composted manure, bone meal, or fish emulsion—these feed your soil’s microbiome while nourishing your grass. Organic fertilizers release nutrients slowly, reducing the risk of burning tender new grass and creating healthier soil long-term.
**Application Wisdom**
Always apply fertilizer to dry grass, then water it in thoroughly. Use half the recommended rate for your first feeding—new grass is sensitive to salt buildup from synthetic fertilizers. For a quick green-up of established yellowing grass, try liquid kelp or compost tea as a foliar spray.
**The Long Game**
Build a sustainable feeding schedule: light applications in early spring and fall work better than heavy summer feedings. Top-dressing with a quarter-inch of compost annually provides slow-release nutrients while improving soil structure—it’s the closest thing to lawn insurance you’ll find.
Improving Soil Conditions
Sometimes yellowing grass is crying out for help from below—your soil might need some TLC. Start with **aeration**, which is like giving your lawn room to breathe. Use a core aerator to pull plugs from compacted soil, ideally in early fall or spring. This simple step dramatically improves water and nutrient absorption.
If a soil test reveals pH problems, don’t panic! For acidic soil (below 6.0), add lime using pelletized versions that are easier to spread evenly. For alkaline soil (above 7.5), work in elemental sulfur or compost. These amendments work gradually, so be patient—sustainable fixes take time.
**Drainage issues** often signal compacted clay soil. Mix in compost, aged manure, or coconut coir to improve structure without harsh chemicals. For severe drainage problems, consider creating subtle grades or installing a rain garden to redirect water naturally.
The most environmentally responsible approach? **Build healthy soil over time** with regular compost additions. Think of it as feeding the soil, not just the grass. Healthy soil teems with beneficial microbes that help roots access nutrients naturally, reducing your need for synthetic fertilizers and creating a resilient lawn that bounces back from stress.
Protecting New Grass from Stress
Young seedlings are surprisingly vulnerable to environmental stress, but a few protective measures can make all the difference. If you’re planting during hot weather, consider using lightweight shade cloth or burlap to filter intense afternoon sun for the first week or two—just remove it once seedlings are established. Better yet, time your planting for early fall or spring when temperatures are milder and rainfall is more reliable. This gives grass a chance to develop strong roots before facing summer’s heat or winter’s cold.
Keep foot traffic completely off new grass until it’s well-established and you’ve had your first opportunity to assess when to mow new grass. Those fragile seedlings can’t handle the compaction. If you’re dealing with a slope or erosion-prone area, erosion control blankets provide both protection and moisture retention—a sustainable two-for-one solution that helps prevent washout during heavy rains while keeping seeds in place.
Prevention: Setting Up Your New Grass for Success
Pre-Planting Soil Preparation
The best defense against yellow grass is starting with healthy soil from day one. Before you scatter a single seed, invest in a soil test—it’s like giving your lawn a health checkup before birth. You can grab an affordable test kit at most garden centers or send a sample to your local extension office for detailed results.
Once you know what you’re working with, amend accordingly. Low pH? Add lime. Sandy soil that drains too fast? Work in compost to improve water retention and add organic matter. Clay soil holding too much moisture? Mix in sand and compost for better drainage. These amendments create a nutrient-rich foundation that prevents deficiencies before they start.
Aim for a soil pH between 6.0 and 7.0—the sweet spot where grass roots can actually absorb nutrients. Till amendments into the top 4-6 inches of soil, then rake smooth and let it settle for a few days before seeding. This preparation might seem like extra work, but it’s far easier than troubleshooting yellow patches later.
Choosing the Right Time and Grass Type
Timing matters enormously when establishing new grass. Cool-season grasses like fescue and bluegrass thrive when seeded in early fall or early spring, when soil temperatures hover between 50-65°F. Warm-season varieties such as Bermuda and zoosia prefer late spring through early summer planting. Seeding outside these windows forces grass to germinate during stressful temperature extremes, leading to that disappointing yellow tinge.
Equally important is choosing varieties suited to your specific conditions. Does your lawn receive full sun or partial shade? Is your soil clay-heavy or sandy? Consider native or regionally adapted cultivars—they’re naturally more resilient and require fewer inputs, making them a sustainable choice. Your local extension office can recommend varieties proven to succeed in your area’s climate and soil type. Getting these fundamentals right from the start prevents many yellowing issues down the road, especially when combined with proper care like knowing when you’re ready for mowing after overseeding.
The good news? Yellowing new grass is almost always reversible with the right care. Whether you’ve been overwatering, underwatering, or dealing with nutrient deficiencies, your lawn has remarkable resilience during this critical establishment phase. By working through the diagnostic steps we’ve covered—checking your watering schedule, testing soil quality, examining for pests and disease, and adjusting your maintenance routine—you’ll quickly identify what’s causing the problem and get your grass back on track.
Remember, establishing new grass is a journey that requires patience. Those fresh seedlings or sod pieces are adjusting to their new environment, developing deep root systems, and building the foundation for years of lush growth ahead. It’s completely normal to encounter a few bumps along the way, and yellow patches don’t mean you’ve failed as a lawn caretaker.
With consistent attention to proper watering, balanced nutrition, and sustainable lawn care practices, you’ll soon see that vibrant green color emerge. Trust the process, stay observant, and before you know it, you’ll have the healthy, thriving lawn you’ve been working toward—one that’s worth every bit of effort you’ve invested.