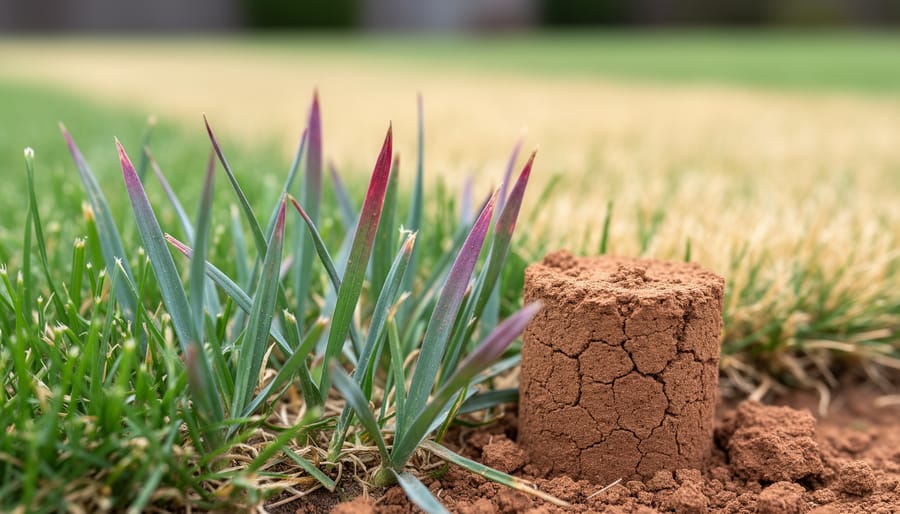
Spring lawn seeding demands precise timing—wait until soil temperatures consistently reach 50-55°F and frost danger has passed, typically mid-April through late May in most regions. Test your soil first, then rake bare patches vigorously to create the seed-to-soil contact that determines germination success.
Choose grass seed varieties that match your climate and sun exposure. Cool-season grasses like perennial ryegrass and tall fescue thrive with spring planting, establishing roots before summer heat arrives. Spread seed at the recommended rate—more isn’t better and actually invites disease and weak growth. Water lightly twice daily for the first two weeks, keeping the top inch of soil consistently moist without creating puddles.
Spring seeding faces unique challenges that fall planting doesn’t. You’re racing against weeds that germinate in the same conditions your grass seed needs, and pre-emergent herbicides that stop weeds will also prevent your grass from sprouting. Plan for persistent dandelions and crabgrass competition by hand-pulling weeds rather than applying chemicals during germination. Unpredictable spring weather—late frosts, heavy rains, or sudden heat waves—can derail even well-executed seeding projects.
The honest truth? Fall remains the optimal seeding season, but spring seeding absolutely works with diligent care and realistic expectations. This guide walks you through proven techniques for successful spring establishment, helping you navigate timing decisions, weather challenges, and weed management while building a lawn that’s both beautiful and sustainable. Your spring-seeded lawn can flourish with the right approach starting today.
Understanding Spring Seeding: The Real Story Behind the Season
Why Spring Feels Like the Right Time (But Isn’t Always)
There’s something almost irresistible about spring, isn’t there? The snow melts, birds return, and suddenly we’re all eager to get our hands dirty in the yard. It makes perfect sense that homeowners instinctively reach for grass seed when those first warm days arrive—spring feels like nature’s fresh start, and seeding your lawn seems to fit right into that renewal narrative.
From a practical standpoint, spring offers some genuine advantages. The soil is typically moist from winter precipitation, temperatures are moderating, and you’ve got the whole growing season stretching ahead. Plus, let’s be honest—you’re already outside doing yard cleanup, so why not tackle seeding at the same time?
However, spring seeding comes with challenges that often catch enthusiastic homeowners off-guard. The biggest competitor for your new grass isn’t weather—it’s weeds. Crabgrass, dandelions, and other opportunistic plants thrive in those same spring conditions, and they’re often better at establishing themselves than your delicate new seedlings. This creates a frustrating dilemma: you can’t apply pre-emergent weed control without also preventing your grass seed from germinating.
Temperature fluctuations present another hurdle. Spring weather is notoriously unpredictable, with late frosts potentially damaging tender new growth, or sudden heat waves stressing seedlings before they’re established. While fall seeding allows grass to establish with less competition and more favorable conditions, spring can certainly work—you just need realistic expectations and a solid game plan.
Grass Types That Actually Thrive with Spring Seeding
Understanding which grass types work best for spring seeding can make the difference between a lush lawn and a frustrating experience. Here’s the truth: **warm-season grasses are your spring seeding champions**, while cool-season varieties face more challenges.
**Warm-season grasses** absolutely love spring planting because they germinate when soil temperatures hit 65-70°F—exactly what late spring delivers. Bermudagrass is the superstar here, establishing quickly and aggressively filling in bare spots. Zoysia grass also thrives with spring seeding, though it’s slower to establish. St. Augustine (typically sodded) and Bahia grass round out your warm-season options for southern lawns.
**Cool-season grasses** like Kentucky bluegrass, perennial ryegrass, and tall fescue technically *can* be seeded in spring, but they’re fighting an uphill battle. They germinate best in cooler conditions, and spring-seeded cool-season lawns face immediate competition from weeds and summer heat stress before they’re fully established. If you’re in the North and must seed in spring, choose perennial ryegrass for its quick germination or turf-type tall fescue for heat tolerance.
The sustainable approach? Plant what naturally thrives in your region during its optimal season—warm-season grasses in spring for southern gardens, saving cool-season varieties for fall when they’ll establish more successfully with less water and fewer chemicals needed.
Perfect Timing: When to Seed Your Lawn in Spring
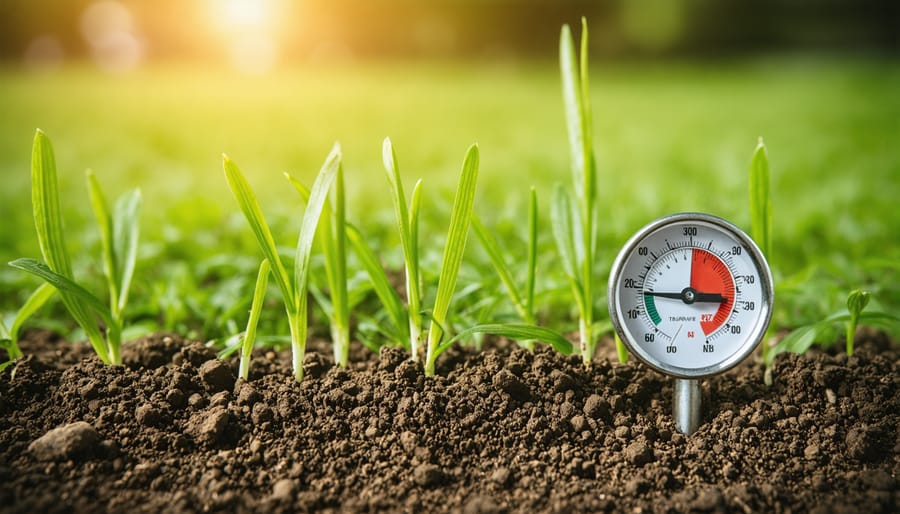
Soil Temperature: Your Most Important Metric
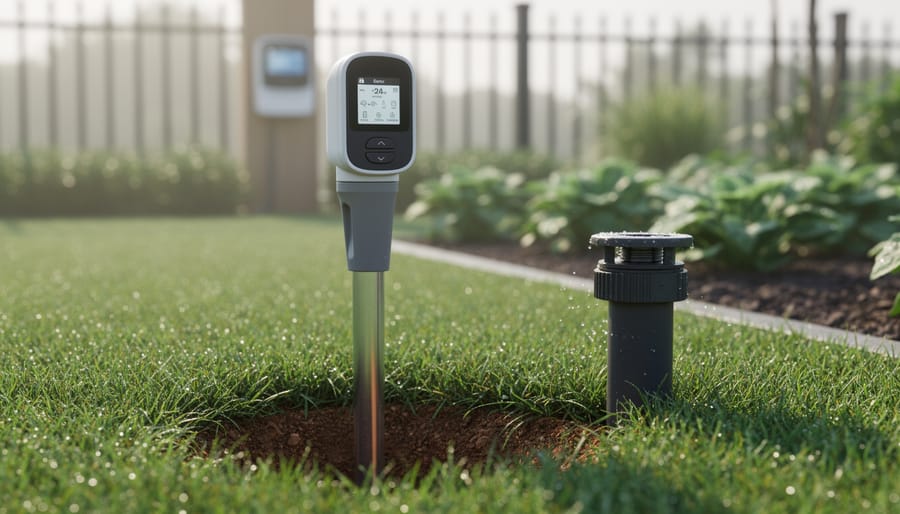
Forget checking the calendar—your soil thermometer is your best friend when timing spring seeding. While that sunny 65°F afternoon might feel perfect, what’s happening six inches underground tells the real story of whether your grass seed will germinate or just sit there becoming bird food.
Here’s the magic number you need to know: cool-season grasses like fescue, ryegrass, and Kentucky bluegrass germinate best when soil temperatures consistently reach 50-65°F. For warm-season varieties like bermudagrass or zoysia, you’ll need to wait until soil temps hit 65-70°F and stay there. The keyword here is “consistently”—one warm day doesn’t mean it’s go-time.
Measuring is simple and inexpensive. Pick up a soil thermometer from any garden center (they typically cost under $15), insert it 2-4 inches deep, and take readings at the same time each morning for several days. Early morning readings give you the most accurate baseline since soil temperature fluctuates less dramatically than air temperature throughout the day.
Why does this matter more than air temperature? Soil warms much more slowly than the air above it. That misleading 70°F spring day might have soil temperatures still hovering around 45°F, especially in shaded areas or clay-heavy soil that retains winter cold. Seed that germinates too early becomes vulnerable to disease, slow growth, and poor establishment—wasting both your investment and effort while creating opportunities for weeds to outcompete your struggling grass.
Regional Considerations: North vs South Spring Seeding
Timing is everything when it comes to spring seeding, and your geographic location makes a significant difference in when you should break out that spreader. The key is matching your seeding schedule to your soil temperature, not just the calendar date.
**Northern regions** (think Zone 6 and cooler) should aim for mid-April through May, once soil temperatures consistently reach 50-55°F. I know it’s tempting to start the moment snow melts, but patience pays off here—cold soil means sluggish germination and weak seedlings that struggle to compete with weeds. Your grass seed needs that warm soil to establish strong roots before summer heat arrives. A simple soil thermometer (available at most garden centers) takes the guesswork out of timing.
**Southern regions** (Zones 7-9) face a trickier window. Early spring—late February through early April—is your sweet spot, but you’re racing against the heat. Once temperatures consistently hit the 80s, cool-season grasses struggle, and you’re fighting an uphill battle. If you’ve missed this narrow window, honestly, fall seeding is your more sustainable choice. You’ll use less water and see better results.
**Transitional zones** fall somewhere between these extremes, with March through early May typically working well. Watch your local weather patterns closely—a late cold snap or early heat wave can shift your ideal timing by several weeks. Your local extension office can provide specific frost date information that’s invaluable for planning your seeding schedule.
Preparing Your Lawn for Spring Seeding Success
Soil Testing and Amendment: The Foundation of Success
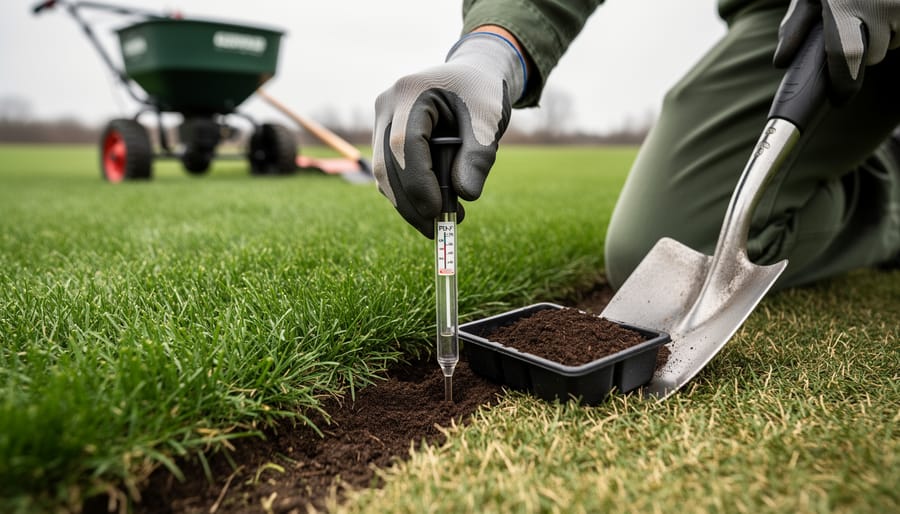
Before you scatter a single seed, let’s talk about what’s happening beneath the surface. Think of soil testing as getting a health checkup for your lawn—it reveals exactly what your soil needs to support vigorous grass growth.
Start by collecting soil samples from several spots across your lawn, mixing them together for an accurate representation. You can purchase an affordable DIY testing kit from your local garden center, or send samples to your county extension office for comprehensive analysis (usually under $20 and well worth it!).
The test results will show your soil’s pH level and nutrient content. Most grass species thrive in slightly acidic soil with a pH between 6.0 and 7.0. If your pH is off, your grass simply can’t absorb nutrients effectively, no matter how much fertilizer you apply.
Here’s where sustainable practices shine. For acidic soil (low pH), apply lime according to test recommendations. For alkaline soil (high pH), sulfur or organic compost works wonders. Speaking of compost, it’s my favorite amendment—it improves soil structure, feeds beneficial microbes, and slowly releases nutrients.
If your test shows nutrient deficiencies, prioritize organic options like compost, well-aged manure, or organic fertilizers. These feed the soil ecosystem, not just the grass. Remember, healthy soil biology is your lawn’s best friend, especially when coordinating with spring fertilization timing for optimal results.
Creating the Perfect Seedbed Without Harsh Chemicals
Before your grass seed can take root and flourish, you’ll need to create the ideal growing environment—and the good news is, you can do this effectively without resorting to harsh chemicals that harm beneficial soil organisms.
Start by giving your lawn a thorough spring cleaning. Rake away dead leaves, twigs, and winter debris using a sturdy leaf rake. This simple step allows sunlight to reach the soil and prevents mold growth. I like to think of it as giving your lawn a fresh canvas to work with.
Next, assess whether your lawn needs dethatching. Thatch is that spongy layer of dead grass stems and roots that accumulates between the soil and living grass. If it’s more than half an inch thick, it can prevent water and nutrients from reaching the soil. A dethatching rake—also called a cavex rake—works beautifully for small to medium lawns. For larger areas, consider renting a manual or electric dethatcher. The key is to work in multiple directions, removing the loosened thatch as you go.
Aeration is perhaps the most transformative step you can take. Compacted soil prevents roots from accessing oxygen, water, and nutrients. A manual core aerator pulls out small plugs of soil, creating channels for air and water penetration. While it requires some elbow grease, it’s incredibly effective and gives you a genuine workout! For those with larger properties, consider renting an eco-friendly walk-behind aerator.
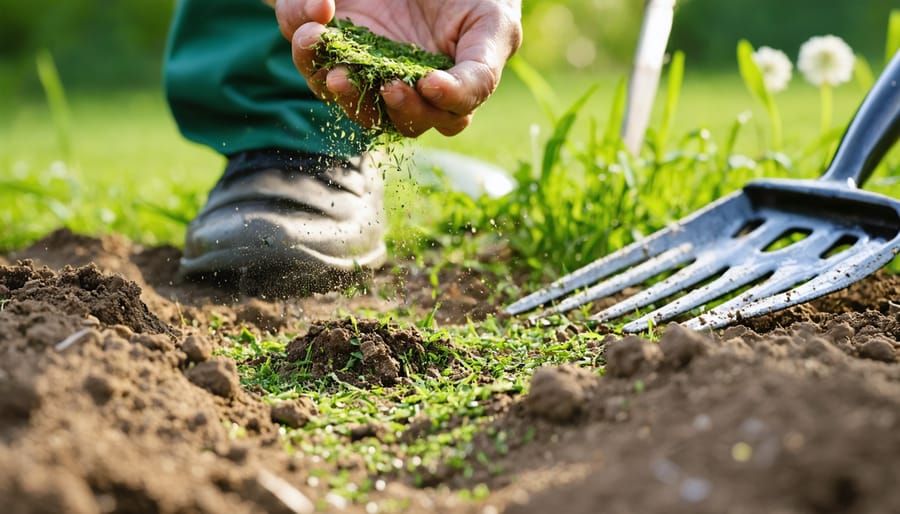
Finally, loosen the top quarter-inch of soil with a bow rake, creating the perfect texture for seed-to-soil contact. Your prepared seedbed should resemble a well-crumbled brownie—loose enough for seeds to nestle in, yet firm enough to provide stability.
Spring Seeding Techniques That Actually Work
Choosing Quality Seed: What Labels Really Mean
When you’re standing in front of a wall of grass seed bags, those labels can feel like they’re written in code! Let me help you crack it. The most important numbers to look for are **germination rate** and **purity percentage**. A quality seed mix should have a germination rate of at least 85%—this tells you how many seeds will actually sprout. Purity percentage (aim for 90% or higher) indicates how much actual grass seed is in the bag versus filler material.
Here’s your red flag checklist: Be wary of bags labeled “contractor grade” or advertising unusually low prices—these often contain high percentages of annual ryegrass that sprouts quickly but won’t establish a lasting lawn. Watch out for high weed seed percentages (should be under 0.5%) and “other crop” listings, which might include undesirable grasses. Also check the test date; seed loses viability over time, so look for testing done within the past 9-12 months.
Quality seed costs more upfront, but you’ll use less of it and get better results—a truly sustainable investment in your lawn’s future. Think of it as buying concentrated juice instead of the watered-down version!
Application Methods: Broadcast vs Drop Spreaders
Choosing the right spreader makes all the difference in achieving that even, lush lawn you’re dreaming of. Let’s break down your two main options.
**Broadcast spreaders** (also called rotary spreaders) are my go-to for larger lawns over 5,000 square feet. They fling seed in a wide arc pattern, covering ground quickly. The pros? Speed and efficiency. The cons? They’re less precise at edges and can waste seed if you’re not careful with overlap. For sustainable practice, look for models with adjustable spread patterns to minimize waste.
**Drop spreaders** release seed directly beneath the hopper in a controlled path. They’re perfect for smaller lawns, tight spaces, or near flower beds where precision matters. While slower than broadcast spreaders, they give you exact control and prevent seed from landing where you don’t want it—a more resource-efficient choice.
Whichever you choose, proper equipment setup is crucial. Calibrate your spreader according to seed bag recommendations, and always make two passes at half-rate in perpendicular directions rather than one heavy application. This technique ensures even coverage and prevents those telltale striped patterns.
For sustainability-minded folks, consider manual broadcast spreaders for small areas—they’re budget-friendly, require no electricity, and give you excellent exercise!

The Critical First Three Weeks
The first three weeks after seeding are absolutely critical—this is when your lawn’s future is determined. Think of yourself as a new parent: your seeds need consistent attention and care to thrive.
**Watering is your number one priority.** Keep the top inch of soil consistently moist (not waterlogged) by watering lightly 2-3 times daily. Early morning and late afternoon sessions work best, minimizing evaporation while avoiding fungal issues that come with evening watering. Once you see sprouts, gradually transition to deeper, less frequent watering schedules to encourage root development.
**Protect your investment from hungry visitors.** Birds love freshly sown grass seed. A light layer of straw mulch serves double duty—deterring birds while preventing erosion from spring rains. For smaller areas, biodegradable netting works wonders.
**Germination typically begins within 7-14 days**, depending on grass type and soil temperature. Cool-season grasses like fescue sprout faster in spring’s moderate temps, while patience pays off for slower varieties.
**Troubleshooting early problems:** Patchy germination usually indicates uneven watering or seed distribution. Bare spots getting washed away? Add more straw protection. Seeing weeds? Don’t panic—resist herbicides until after your third mowing, as most products will harm tender grass seedlings.
Spring Overseeding: Filling Bare Spots and Thickening Thin Lawns
When Overseeding Makes More Sense Than Full Seeding
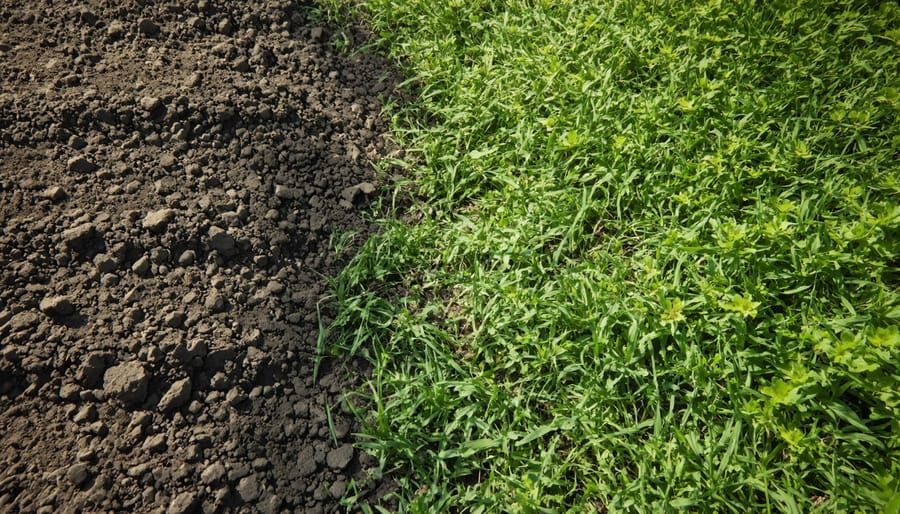
Not every tired-looking lawn needs a complete do-over. In fact, overseeding is often the smarter, more sustainable choice for lawns that still have decent bones. Here’s how to tell which approach your yard needs.
If your lawn has at least 50% healthy grass coverage—even if it looks a bit sparse or patchy—overseeding is probably your best bet. Walk around and really assess what you’re working with. Are there just some thin spots where the soil shows through? Can you see more green than brown? That’s overseeding territory.
Full renovation makes sense when you’re dealing with more bare soil than grass, when invasive weeds have taken over more than half your lawn, or when the existing grass is completely the wrong type for your conditions. You’ll also want to consider full seeding if soil compaction or drainage issues have created an unhealthy foundation that needs addressing.
Think of overseeding as a refresh rather than a rebuild. It’s less labor-intensive, more cost-effective, and significantly easier on the environment since you’re not stripping away existing vegetation and disturbing the soil ecosystem. Plus, the established grass helps shade new seedlings and retain moisture, giving those baby grass plants a better chance at success.
The visual test is simple: if your lawn looks tired but still functional, overseed. If it looks like a lost cause, start fresh.
Overseeding Without Killing Your Existing Grass
Overseeding successfully means creating the perfect environment for new grass to emerge without smothering what’s already thriving. The key is establishing excellent seed-to-soil contact while giving your existing turf the breathing room it needs.
Start by mowing your lawn shorter than usual—about 1.5 to 2 inches—a day or two before overseeding. This might feel counterintuitive (we usually tell you not to scalp your lawn!), but it serves two purposes: it reduces competition for sunlight and allows new seeds to reach the soil more easily. Just don’t go so short that you stress the grass beyond recovery.
Core aeration is your best friend here. Those little soil plugs pulled from your lawn create thousands of perfect seed pockets while improving drainage and root development. If you’re working with a smaller area, a simple garden rake can rough up the surface enough to help seeds nestle into the soil rather than sitting exposed on top.
After spreading your seed, resist the urge to pile on heavy topdressing—a light dusting of compost (about 1/4 inch) is plenty. Too much will suffocate your existing grass.
Here’s where balance becomes crucial: new seedlings need consistent moisture, but your established grass doesn’t want to sit in waterlogged soil. Aim for light, frequent watering—10 to 15 minutes twice daily—just enough to keep the top inch of soil damp. Once seedlings reach about an inch tall, gradually transition back to deeper, less frequent watering that benefits both generations of grass.
Managing Spring Seeding Challenges Naturally
The Weed Problem: Prevention Without Pre-Emergents
Here’s the challenge with spring seeding: traditional pre-emergent herbicides that prevent weed seeds from germinating don’t discriminate—they’ll stop your grass seed from sprouting too. This means you’ll need to choose between having a weed-free lawn *or* establishing new grass. Fortunately, there are sustainable strategies that let you have both, with a little patience.
Your best defense is timing. If you seed in early spring before soil temperatures reach 55°F, you’ll get a head start on crabgrass and many annual weeds. This narrow window gives your grass seedlings crucial weeks to establish before weeds become aggressive.
For those seeking a natural pre-emergent option, corn gluten meal offers a gentler alternative. Applied 4-6 weeks before seeding, it breaks down into a nitrogen-rich fertilizer by the time you’re ready to plant. While it won’t provide the same ironclad protection as synthetic pre-emergents, it significantly reduces weed pressure without creating a chemical barrier.
Once you’ve seeded, your best tool is diligent monitoring. Check your new lawn every few days and hand-pull weeds when they’re small—it takes just minutes and prevents them from competing with tender grass seedlings for nutrients and water. Think of it as meditative garden time rather than tedious labor.
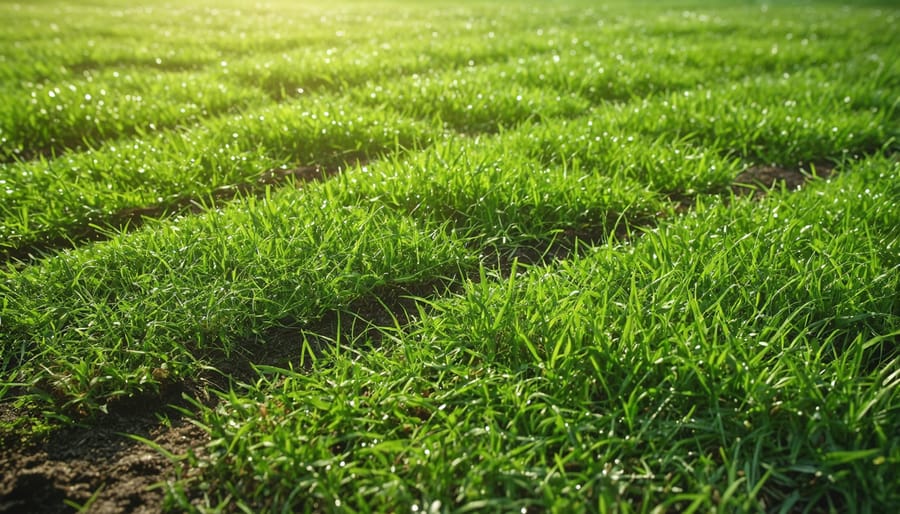
Dense grass growth is your ultimate weed prevention strategy. Overseed generously, maintain consistent moisture, and mow at the proper height once established. A thick, healthy lawn naturally crowds out most weed problems, making those early efforts worthwhile.
Dealing with Spring Rain and Temperature Swings
Spring weather can be your new lawn’s best friend or worst enemy, often within the same week! Heavy rains are particularly worrisome in those first two weeks after seeding. If downpours are forecasted, consider covering seeded areas with erosion control blankets or a light layer of straw—just enough to see soil between the strands. These simple barriers let water through while preventing seeds from washing into sad little piles at the low spots.
If your lawn becomes waterlogged, resist the urge to walk on it or add more seed to bare patches right away. Oversaturated soil needs to drain naturally, and patience here prevents compaction that’ll haunt you all season. Once it dries slightly, you can assess any real damage and reseed targeted areas.
Unexpected cold snaps won’t necessarily kill your seeds, but they’ll certainly hit the pause button on germination. Most grass seeds can handle light frosts once they’ve sprouted, though seedlings grow painfully slowly in chilly conditions. There’s not much you can do except wait it out—Mother Nature will eventually cooperate! The silver lining? This waiting period gives roots extra time to establish before the heat of summer arrives, creating a more resilient lawn long-term.
Spring lawn seeding can absolutely be successful when you approach it with the right timing, technique, and realistic expectations. If you’ve followed the guidance we’ve covered—preparing your soil properly, choosing quality seed suited to your region, and staying on top of consistent watering—you’re setting yourself up for a healthy, vibrant lawn by summer’s end.
That said, patience is your best friend during this process. Spring-seeded lawns typically take 2-4 weeks to germinate and several months to truly establish themselves. You’ll likely face some competition from weeds during this time, but resist the urge to apply harsh herbicides that could damage your tender seedlings. Hand-pulling and spot-treating are more sustainable approaches that protect your investment.
It’s worth remembering that fall seeding does offer distinct advantages for cool-season grasses—cooler temperatures, fewer weeds, and more consistent moisture. If your spring window has already passed or you’re dealing with particularly challenging conditions, there’s no shame in waiting until autumn for optimal results.
Whatever you decide, take action with confidence. Whether you’re overseeding bare patches or establishing an entirely new lawn, the effort you put into proper spring seeding will pay dividends in curb appeal and environmental benefits. Your lawn provides oxygen, cools your property, and supports local ecosystems—making it a project worth doing right.