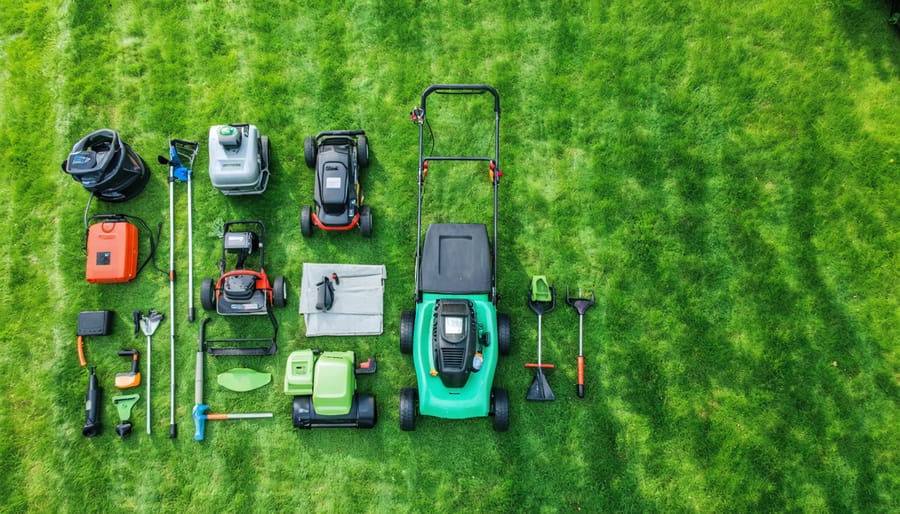
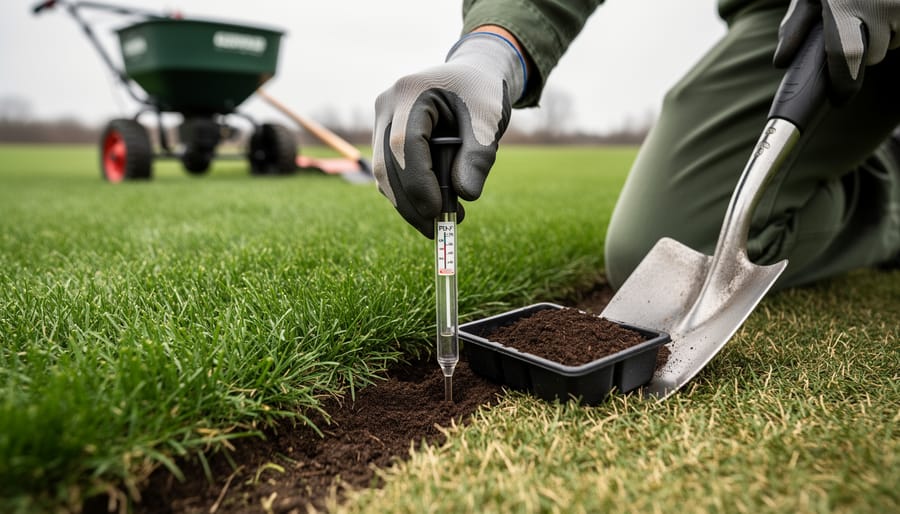
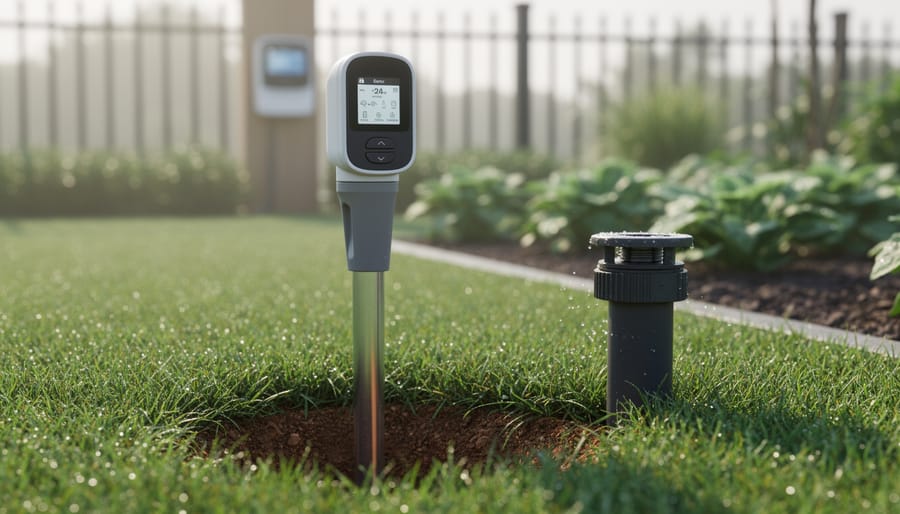
Transform your lawn care routine by mastering proper equipment setup – it’s the cornerstone of efficient yard maintenance and extends the life of your valuable tools. Start with a thorough inspection of all equipment, checking fuel lines, air filters, and cutting mechanisms before the season begins. Clean equipment thoroughly, removing last season’s debris and ensuring all moving parts operate smoothly. Maintain proper blade sharpness and balance on mowers and trimmers, as dull blades not only damage grass but also strain engines unnecessarily.
Today’s modern lawn care equipment demands attention to detail during setup, from precise oil levels to proper tire pressure. Whether you’re managing a small residential yard or maintaining extensive grounds, proper equipment preparation prevents costly breakdowns and ensures consistent performance throughout the growing season. Follow manufacturer guidelines for specific maintenance schedules, but remember that local climate conditions might require adjustments to standard recommendations.
This comprehensive guide will walk you through essential setup procedures for common lawn care equipment, helping you create a maintenance routine that protects your investment while delivering professional-quality results. From seasonal storage preparation to regular maintenance checks, mastering these fundamental setup procedures will significantly improve your lawn care efficiency and effectiveness.
Pre-Season Equipment Inspection
Visual Inspection Points
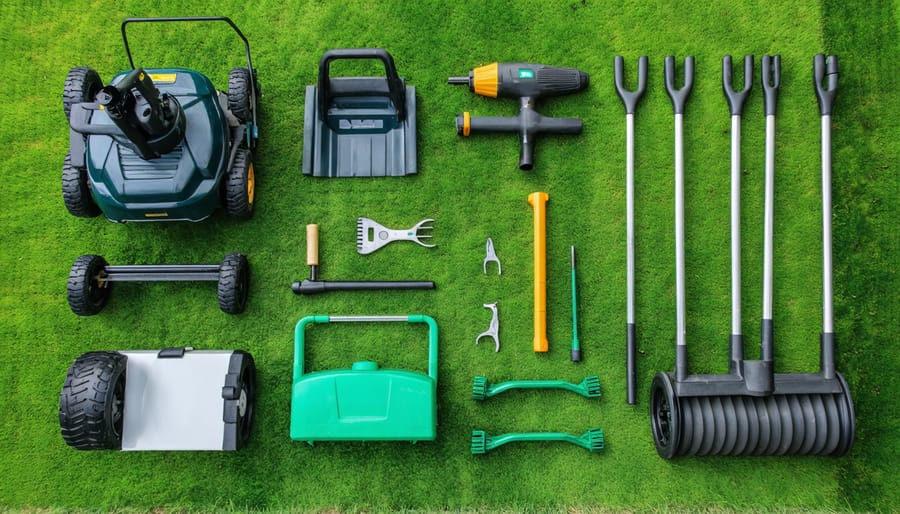
Before starting your lawn care equipment, always perform a thorough visual inspection to ensure everything is in good working order. Begin by examining the blade condition – look for signs of wear, chips, or bending that could affect cutting performance. Check all mounting bolts and nuts for tightness, paying special attention to blade mounting hardware.
Inspect fuel lines and connections for any cracks or leaks. For electric equipment, examine power cords for fraying or damage. The air filter should be clean and properly seated, while the spark plug should be free from carbon buildup and correctly gapped.
Look over the wheels and height adjustment mechanisms, ensuring they move freely and lock securely. Check deck condition for rust or damage, and verify that safety shields and guards are intact and properly positioned. The pull cord should be free from fraying, and the handle should be firmly attached.
Don’t forget to examine belts for proper tension and wear, and ensure all control cables move smoothly. If you spot any issues during inspection, address them before operating the equipment to prevent potential hazards and ensure optimal performance.
Safety Feature Verification
Before operating any lawn care equipment, it’s crucial to verify that all safety features are working properly. Start by checking the blade brake control on mowers – when released, it should immediately stop the blade. Test the dead man’s switch by releasing the handle; the engine should shut off instantly. For riding mowers, ensure the seat safety switch functions correctly by rising slightly from the seat – the engine should cut off.
Inspect all safety shields and guards for secure attachment and proper positioning. These protective elements should never be removed or modified. Check that the discharge chute deflector moves freely and returns to its closed position. For equipment with pull cords, verify the automatic rewind mechanism works smoothly.
On power tools like trimmers and edgers, test the trigger lock mechanism and ensure the safety throttle functions properly. All emergency stop buttons should be easily accessible and responsive. Remember that even a minor safety feature malfunction can lead to serious injury, so never operate equipment with bypassed or broken safety mechanisms.
Take time to verify warning labels are legible and replace any that have become worn or unreadable. This small investment in safety verification can prevent accidents and ensure years of safe operation.
Essential Setup Steps for Common Equipment
Mower Setup Basics
Proper mower setup is crucial for achieving that perfect lawn cut while ensuring your equipment’s longevity. Start by adjusting your blade height according to your grass type and season – generally between 2.5 to 3.5 inches during peak growing seasons, which is particularly important for effective spring growth management.
When it comes to wheel alignment, ensure all four wheels are set to the same height. Many mowers have individual adjustment levers for each wheel – take time to verify they’re aligned using a flat surface as reference. An uneven wheel setup can result in scalped patches and uneven cutting patterns.
Deck leveling is perhaps the most crucial yet often overlooked aspect of mower setup. A properly leveled deck ensures even cutting across your entire lawn. To check the deck level, park your mower on a flat surface and measure the distance from the ground to the deck’s edge on both sides. If there’s more than a quarter-inch difference, adjust the deck using the manufacturer’s leveling mechanisms.
Don’t forget to check that your blade is properly balanced after sharpening or replacement. An unbalanced blade can cause vibration, leading to uneven cuts and potential damage to your mower’s engine. A simple nail on the wall can serve as a balancing point – if one side dips, file it down until the blade stays level.
String Trimmer Preparation
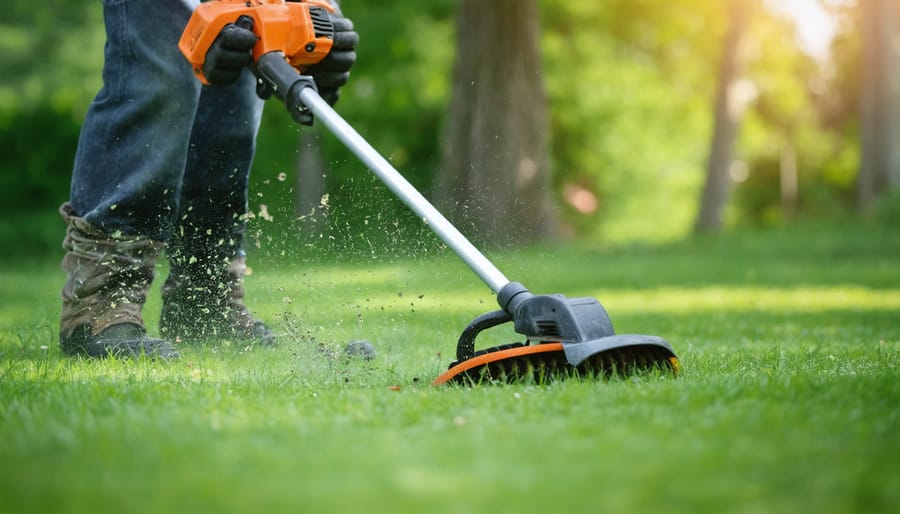
Getting your string trimmer ready for action starts with proper line replacement. Check your trimmer’s manual for the correct line diameter, and unspool about 20 feet of fresh line. Most models use a bump-feed head – open it carefully and wind the new line in the direction shown by the arrows on the spool. Leave about 6 inches extending from the holes to get started.
Next, inspect and position the guard correctly. This vital safety component should be firmly attached and angled to deflect debris away from you. If it’s loose or damaged, tighten or replace it before use. The guard also serves as a cutting blade for your line, ensuring it maintains the right length during operation.
Handle adjustment is crucial for both comfort and control. Position the main handle so your arms form a natural, relaxed angle when holding the trimmer. If your model has an auxiliary handle, adjust it to allow for balanced control and easy maneuvering. Most handles can be loosened with a simple Allen wrench or screwdriver.
For optimal performance, ensure the trimmer head is parallel to the ground when you’re standing in your working position. This might require fine-tuning the shaft length if your model has this feature. Take a moment to test the weight distribution – a well-balanced trimmer will feel comfortable and reduce fatigue during extended use.
Remember to wear appropriate safety gear before testing your newly prepared trimmer, including eye protection and closed-toe shoes.
Leaf Blower Configuration
Proper leaf blower configuration ensures optimal performance and makes your yard work more efficient. Start by checking all tube sections for any cracks or damage. Align the grooves of each tube segment carefully, then twist them together until you hear a distinct click – this indicates they’re properly locked in place. If your model has multiple tubes, assemble them in order from largest to smallest diameter for maximum airflow efficiency.
Most modern leaf blowers feature variable speed settings, which you’ll want to familiarize yourself with before use. The lower settings are perfect for working around delicate garden beds or clearing leaves from gravel, while higher settings tackle wet leaves and heavier debris. Take a moment to test each speed setting in a clear area to get a feel for the airflow strength.
For models with additional attachments like gutter cleaners or vacuum functions, verify that each piece connects securely. The attachments should lock firmly without any wobbling. Some blowers include rubber gaskets between connections – ensure these are properly seated to prevent air leakage, which can reduce blowing efficiency.
Before each use, double-check that all components are tightly secured. A loose tube can significantly reduce blowing power and make your task more challenging. If you notice any connection points becoming loose during operation, stop immediately and re-secure them to maintain optimal performance.
Seasonal Adjustments and Maintenance
Spring Setup Requirements
As the weather warms up and spring lawn care becomes a priority, it’s crucial to prepare your equipment for the intensive growing season ahead. Start by thoroughly inspecting all your tools, paying special attention to your lawnmower, trimmer, and other powered equipment.
Begin with a comprehensive cleaning of all equipment, removing any grass clippings or debris that may have been left over from last season. Check and replace spark plugs if they show signs of wear or corrosion. Oil changes are essential – fresh oil ensures your engine runs smoothly and extends its life. While you’re at it, replace or clean air filters to maintain optimal engine performance.
For battery-powered equipment, ensure batteries hold a proper charge and check for any signs of damage or deterioration. Sharpen all cutting blades, including those on your mower, trimmer, and pruning tools. Dull blades can damage grass and make your work much harder than necessary.
Don’t forget to lubricate all moving parts and check tire pressure on wheeled equipment. If you notice any loose bolts or worn parts, now is the time to replace them. Finally, test all equipment in a controlled setting before tackling your first full yard maintenance session. This prevents unexpected breakdowns when you need your tools most.
Remember to store your equipment properly between uses, keeping it in a dry, covered area to protect it from spring rains and moisture that could lead to rust or deterioration.
Fall-Winter Transitions
As temperatures drop and leaves begin to fall, it’s crucial to adjust your lawn care equipment for the changing seasons. Proper winter equipment preparation ensures your tools remain in top condition and ready for spring.
Start by thoroughly cleaning all equipment, paying special attention to removing grass clippings and debris from mower decks and trimmer heads. For gas-powered equipment, either drain the fuel completely or add a fuel stabilizer to prevent carburetor issues during storage. Change the oil while the engine is still warm, as this helps remove more contaminants.
Battery-powered equipment needs special consideration too. Store batteries in a cool, dry place, maintaining a charge level between 40-60% for optimal longevity. Remove batteries from equipment before storage to prevent potential corrosion.
For manual tools like rakes and shovels, clean them thoroughly and apply a light coat of oil to prevent rust. Store these tools hanging or upright to maintain their shape and prevent damage. Consider sharpening blades and tines before storage – you’ll thank yourself come spring.
Don’t forget to properly store extension cords and garden hoses. Clean them, check for damage, and store them coiled to prevent kinks and cracks. A little effort now in winterizing your equipment will save you time and money when the growing season returns.
Troubleshooting Common Setup Issues
Equipment Won’t Start
If your lawn care equipment won’t start after setup, don’t panic. Follow this systematic troubleshooting checklist to identify and resolve common startup issues. First, verify that you’ve added fresh fuel and the correct fuel mixture for two-stroke engines. Old or stale gas is often the culprit behind startup problems.
Next, check that the spark plug is properly connected and free from carbon buildup or damage. A loose or fouled spark plug can prevent ignition. Ensure the air filter is clean and properly installed – a clogged filter restricts airflow and can prevent starting.
For electric equipment, confirm that batteries are fully charged and correctly installed. Check power connections for corrosion or damage. If using corded equipment, verify that the power outlet works and the extension cord is appropriate for outdoor use.
Common setup-related issues include incorrect choke position, improperly primed engines, or safety switches that aren’t fully engaged. Double-check that all safety features are in their proper positions. For pull-start equipment, ensure the pull cord moves freely and engages the starter mechanism.
If these basic checks don’t resolve the issue, inspect for fuel line kinks or blockages, and verify that the fuel tank vent isn’t clogged. Remember that some equipment requires a specific starting sequence – consult your owner’s manual for model-specific guidance.
Performance Problems
Incorrect equipment setup can lead to several frustrating performance issues that affect both your lawn’s appearance and your equipment’s longevity. One common problem is uneven cutting, often resulting from improperly leveled mower blades or incorrect deck height adjustment. This not only creates an unsightly lawn but can also stress grass plants, making them more susceptible to disease.
Engine problems frequently stem from improper fuel mixture ratios in two-stroke equipment or contaminated fuel systems. If you notice your equipment running rough or struggling to start, it’s likely due to these setup-related issues. Similarly, vibration problems often occur when blades aren’t balanced correctly or attachment points aren’t properly secured.
Poor performance can also manifest as inefficient operation, such as string trimmers that constantly need line adjustments or sprayers with irregular distribution patterns. These issues typically trace back to incorrect assembly or poor maintenance practices. For battery-powered equipment, improper charging procedures or incorrect battery installation can lead to reduced runtime and diminished power output.
To prevent these problems, always follow manufacturer guidelines during initial setup and maintain regular equipment checks. Pay special attention to assembly tolerances, proper lubrication points, and correct tension settings for belts and chains. Taking time to properly configure your equipment from the start will save you countless hours of troubleshooting and repair work later.
Setting up your lawn care equipment correctly is not just about getting the job done – it’s about ensuring safety, efficiency, and longevity of your tools. Throughout this guide, we’ve covered essential aspects of equipment setup that will help you maintain a beautiful lawn while protecting your investment in quality tools.
Remember that proper inspection should always be your first step, checking for any damage or wear before beginning setup. Taking time to calibrate your equipment, from mower blade height to spreader settings, ensures optimal performance and consistent results. Regular maintenance routines, including cleaning and proper storage, will extend the life of your equipment and prevent costly repairs.
Seasonal considerations play a crucial role in equipment setup. As we’ve discussed, adjusting your tools for different weather conditions and grass types helps achieve the best possible results while protecting your lawn’s health. Don’t forget to keep safety at the forefront by always following manufacturer guidelines and wearing appropriate protective gear.
By implementing these setup practices, you’ll not only improve your lawn care results but also contribute to sustainable gardening. Properly maintained equipment runs more efficiently, uses less fuel, and reduces environmental impact. Take pride in your lawn care routine, knowing that your well-setup equipment is helping you create and maintain the beautiful, healthy lawn you desire.
Remember, successful lawn care starts with proper equipment setup – it’s the foundation for achieving professional-looking results while ensuring your tools serve you well for years to come.
